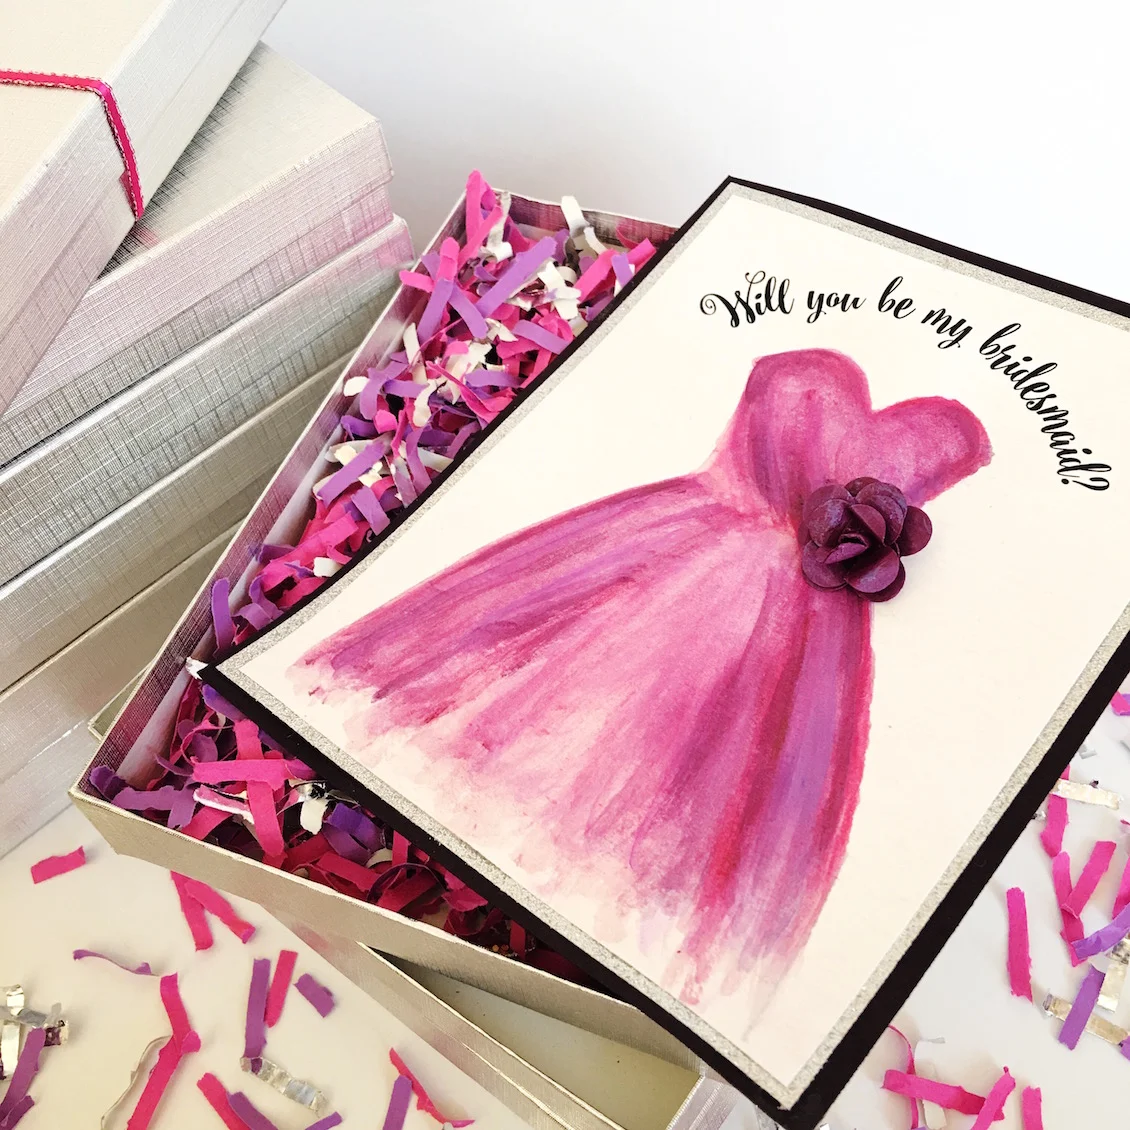
061416-southern-wedding-party-confetti.jpg

wedding blog + planning guide for creative weddings | inspiration for DIY Brides

Brenda's Wedding Blog is your online resource for planning your dream elegant wedding. Helping you find the "wow" in weddings.

Posts in DIY
Mixed Media Masterpieces : crafting one-of-a-kind wedding journals + keepsakes

Have you heard of Everyday is a Holiday? Jenny and Aaron are the amazingly talented artists behind the popular crafting blog and have now published a book to help you create vibrant art journals {these are perfect for preserving  your wedding memories} and unique mixed media pieces in the easy-to-follow guide called Mixed Media Masterpieces. My personal favorite how-to's are the supercute mini faux doughnuts {which you will see below} and the fauxbulous keepsake cake.

Wouldn't it be so fun to serve doughnuts as the dessert at either your bridal shower or wedding and then send each guest home with a handmade keepsake faux doughnut? You can even turn these doughnuts into magnets or sign the back with a little personal thank you.

You can find Jenny and Aaron online at their blog Everyday is a Holiday and I'm in LOVE with their jumbo, sturdy wooden die cuts that are all handmade by Jenny and Aaron from their original paintings. Wouldn't it be fun to hang one of these wooden paintings behind your dessert table and then display it in your home after the wedding as a keepsake?

PS: You can purchase the Mixed Media Masterpieces book here for just $15.50. A fun idea is to plan a little "un-plugged" girlfriend get-together and gather supplies to have a fun craft night making art journals and more with Jenny and Aaron's easy to follow , step-by-step instruction manual.

Mixed Media Masterpieces with jenny and Aaron - learn the art of mixed media crafting and create your own original masterpieces

this post contains affiliate links
DIY Uplighting for Weddings : add color and ambience with lights
Are you looking for a unique way to add color to your wedding? Do you want to ditch the harsh fluorescents and spruce up a drab venue? With DIY Uplighting you can rent LED lighting for just $19 per light. Wait until you see the examples below and how very few lights can totally transform any space into a fabulous display of color. Uplighting creates a stunning display and can even make your head table, dessert display and much more look absolutely spectacular. The photo above shows you how the addition of 20 lights was used to add a wonderful pink glow to drapery behind the head table. Below is an example of a plain white room that was completely transformed into a purple fairytale with just 8 lights.
Here's the scoop on DIY Uplighting, along with even more photos of weddings that used uplighting to create the perfect atmosphere for their special day:
1. free shipping nationwide
2. 7 day rental
3. $19 per light
4. no minimum rental
5. professional quality lights
6. quick and easy set-up
diy-uplighting-rees-photography-2.jpg
The above wedding reception at a Holiday Inn was enhanced with the addition of 20 lights to set the perfect mood. Photo courtesy of Rees Photography {this is her wedding, she was a DIY bride who also happens to be a photographer}.
up-lighting-in-room-with-windows-3.jpg

This photo shows how lights can look in a room with windows. Even though it's still daylight outside, the lights accenting the walls can still be seen, and will only be enhanced as the night falls. Photo courtesy of US Patriot Photography.

diy-wedding-uplighting-purple-lights.jpg

This wedding shows how just 18 rental lights can create a a gorgeous display for both the reception room and dessert table.

Are you ready to add color and ambience to your event?

Click Here to CHECK AVAILABILITY on renting your own "up lighting".

Just a $25 deposit is needed to reserve lights.

And, don't forget what event designer Preston Bailey has said . . . "Lighting creates a mood". Now, you can create a beautiful mood at your next wedding or event yourself with DIY Uplighting.
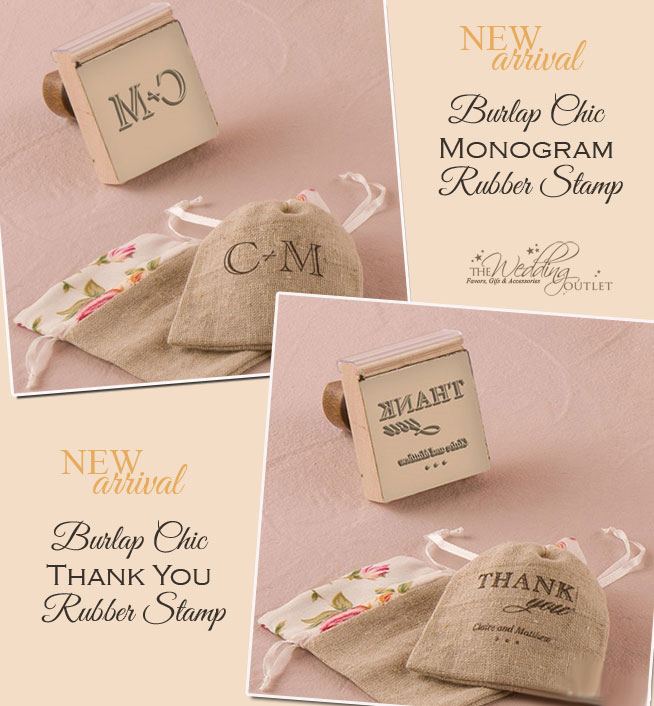
Burlap Chic Personalized Rubber Stamps for DIY Wedding Projects
These two new arrivals from The Wedding Outlet are perfect for creating your next DIY wedding project. These Burlap Chic Rubber Stamps can be used to personalize everything from your wedding invitations to your favor bags. It's a great way to incorporate your new initials or couples name at your rustic themed wedding. (Ink pad not included) You can choose between the Burlap Chic Monogram Personalized Rubber Stamp and the Burlap Chic Thank You Personalized Rubber Stamp.
personalized-wedding-rubber-stamps-011513.jpg
PS: I did a little research and found out that the best way to stamp on burlap is to apply black acrylic paint to the stamp with a foam brush and press it into the burlap. Even easier than using an ink pad. Fabric paint might also work as well.

Shop All New Arrivals Here

Save on your order at The Wedding Outlet with the Current Sale . . .
Spend $75, SAVE $10 | Code: green10
Spend $125, SAVE $20 | Code: blue20

DIY Halloween Wreath with Feather Boas and Fascinators

Today's DIY was actually created by my mom and it was the inspiration behind the Halloween Wedding inspiration board that went up earlier this morning. This DIY wreath is perfect for Halloween, but you can easily change the colors to suit any type of event including bridal showers and bachelorette parties. My mom used a wreath form {you could use any shape you like} and 3 black feather boas were enough to cover the styrofoam form. She then found the feather hair clips at Joann's on clearance for just over a $1 each. What a GREAT Bargain! Creating gorgeous decor for events doesn't have to cost a fortune.

all photos taken by Brenda with a Canon 60D
DIY Gold Glittered Apples and a Freebie . . . apple place cards
DIY Gold Glittered Apples | uses just acrylic paint, no messy glitter

I have something fun for you this Friday and it's something I rarely do. I've created my own DIY post and even included a free download to go along with it. Hope you like this gold glittered apple as much as I do. I definitely had fun creating it.  And, it only required 3 supplies {paintbrush + acrylic paints}. With the orchards full of apples these days, this DIY is perfect for fall weddings, bridal showers and even Thanksgiving. It's such a fun and easy way to dress up place settings for your guests. 

I have always been a BIG lover of glitter, but I'm not such a fan of the "cover with glue, sprinkle on glitter, seal in the glitter" technique. It's just too messy for me and then I'm finding glitter dust for days throughout the house. What I LOVE is the acrylic paint with the glitter right inside of it. And, there are so many color to choose from, you can easily create apples in any color you choose. Or, create an assortment of colors. You simply paint and the glitter is there without even needing to seal it in.

DIY Glittered Apple

Supplies:
Paintbrush
Acrylic Paints {base coat and the glitter color of your choice}

I use the FolkArt brand of paints and used the champagne color which has a tint of sparkle in it for the base coat. I applied 2 coats of this color and let it dry completely between the coats {approx. 1 hr since it was a bit humid in our house when I did this}. I then applied 2 coats of the folkArt Extreme Glitter paint in gold. The more coats of the glitter paint you apply, the more glittery it becomes. I recommend glittering the apples 2-3 days before your event so they don't get soft.

DIY Gold Apples : easy peasy glitter project with paints only

And, now for the freebie - I created these downloadable apple place cards that would look perfect paired with the glittered apples. Simply click here to download the pdf file and you can print and trim them out. They are blank and you can write in your guests names or even use them as gift tags if you prefer. {The calligraphed font used on the place card sample below is Dom Loves Mary  - the font used in the above photos is Melany Lane.}

PS: These place cards are for personal use only and cannot be distributed or sold. If you feel inspired, a link back to this post on Brenda's Wedding Blog would definitely be appreciated.