Photo Shoot : an Ice Cream Social themed bridal shower
Today's theme for the Wedding Vendor Challenge couldn't be more perfect. We're supposed to reach heat indexes of at least 110 and we're all advised to stay in air conditioning. I think I can manage that - or I suppose I could just stick myself into these photos to cool off and have some yummy refreshing treats :)
Today's photo shoot was created by Ashley of Attention 2 Detail Events . . . she explains that she used the purple, pink, and grey color palette to create a grown up Ice Cream Social themed bridal shower with a fun ice cream themed dessert table. Now, I know you're all going to LOVE that idea!!!!!!
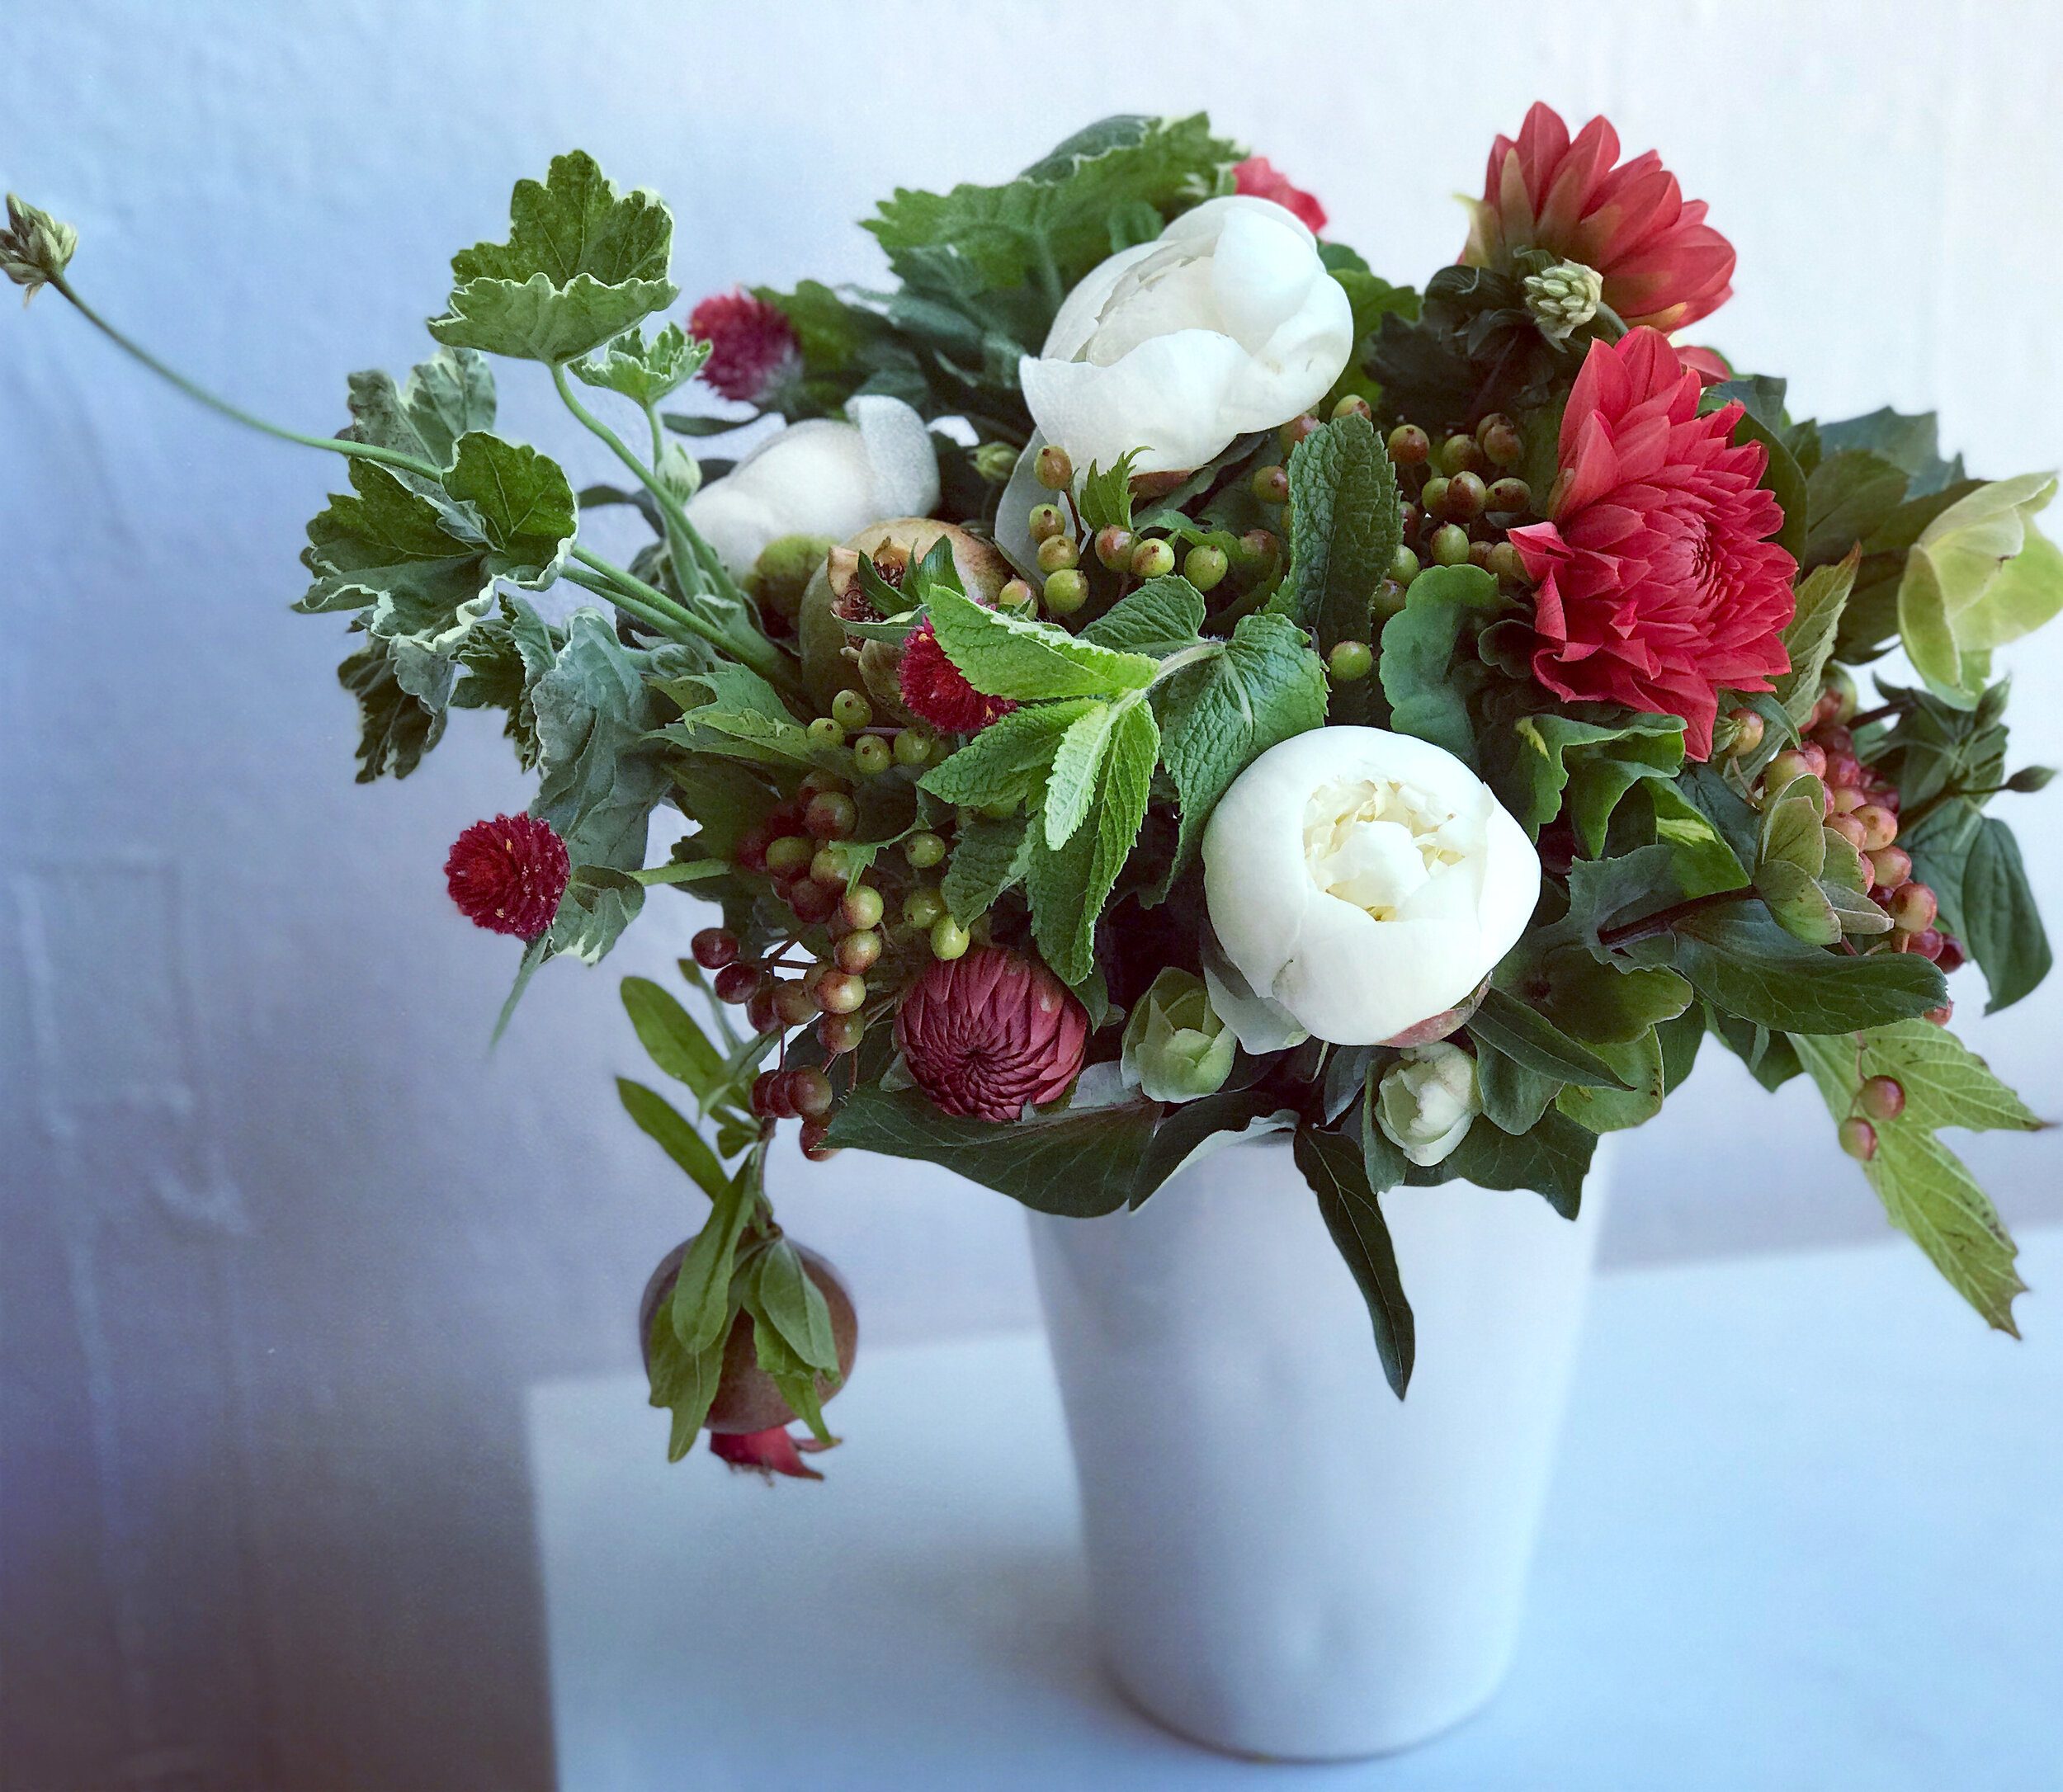
The tablescape for the shower featured gorgeous quilted gray and white table coverings, cream scalloped plates, vintage ice cream sundae glasses, ice cream spoons, and pink and purple flower arrangements featuring carnations, roses, and wax flower. The tables were seated with silver chiavari chairs. Ashley created a weaved effect on the chairs backs using silver chair ties. I am beyond in LOVE with this chair decor.
Each place setting also featured an individual favor box tied in pink ribbon, topped with little paper flowers, and with little coordinating tags that read "Life is short, Eat Dessert First". Inside each favor box were tied stacks of vanilla Whoopie pies, with purple vanilla cream filling.
For the drinks, Ashley featured sparkling raspberry and regular lemonade but dressed up the pale pink glasses with gray striped straws and frozen blackberries to add a touch of the dark purple.
Ashley thought of everything with this shoot and even created custom ice cream napkins {which she features in a step-by-step super easy tutorial later in the post}. She placed the napkins on a vintage coffee table which was decorated with a delicate purple bunting, purple lilacs, and a weaved ribbon background featuring a poster that said "Keep Calm and Eat Ice Cream".
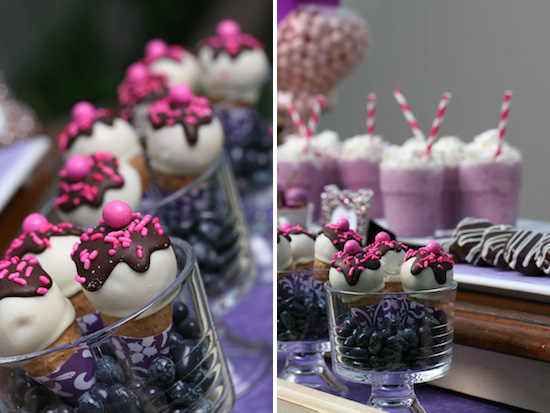
The dessert table featured banana split bites, ice cream shaped sugar cookies, chocolate covered cherries, ice cream cone cake pops, strawberry milkshakes, a custom ice cream carton cake {which I am in total awe of}, strawberry cream chocolate covered Oreo's, and three candy jars filled with waffle cones, strawberry whoppers, and pink and purple marshmallows. Can you say YUMMY!!!!!!!
DIY GOODIE: Custom Stamped Napkins Tutorial
Ashley has a GREAT do-it-yourself tutorial for us today - here's the materials you will need, which can all be purchased at your local craft store:
• Clear Acrylic Blocks used for stamping
• Waterprood Ink Stamp Pad in the color of your choice
• Napkins in the color of your choice
• Acrylic Stamp Set (They come in a bunch of different shapes, sizes, and themes)
• Eraser
Step 1: Peel the stamp you wish to use off of the plastic backing.
Step 2: Apply flat, semi-sticky side of stamp to acrylic block. Use a basic eraser and rub over the surface of the stamp. This will help the ink stick to the stamp evenly.
Step 3: Use a stamp pad {waterprood ink to prevent smudging} in any color. They are a variety of options available at your local craft store.
Step 4: Place the stamp on the stamp pad and press evenly.
Step 5: Place the stamp onto the napkin in the desired location. The acrylic blocks are great because you can see right through them, which helps to place your stamp exactly where you want!
Step 6: The great thing about using the acrylic blocks is that you can repeat steps 1-5 and place as many designs as you want on each napkin without worrying about crossing previous stamped designs!
Viola! A Super easy way to add a little personal touch to your events!
Vendors:
Stylist and Designer: Attention 2 Detail Events
Photographer: Howie Oren Photography
Flowers: Dahlias Flowers
Strawberry Oreo's: Sweet Tooth Sweetie
Ice Cream Cone Cake Pops: Sugar Parlour
Custom Cake: Whipped Cakes
Ice Cream Cone Cookies: Lizzie Jean's Cookies
Keep Calm Poster: Keep Calm Shop
Mini Garland: Art's Delight
Ice Cream Spoon: Beach House Living

