
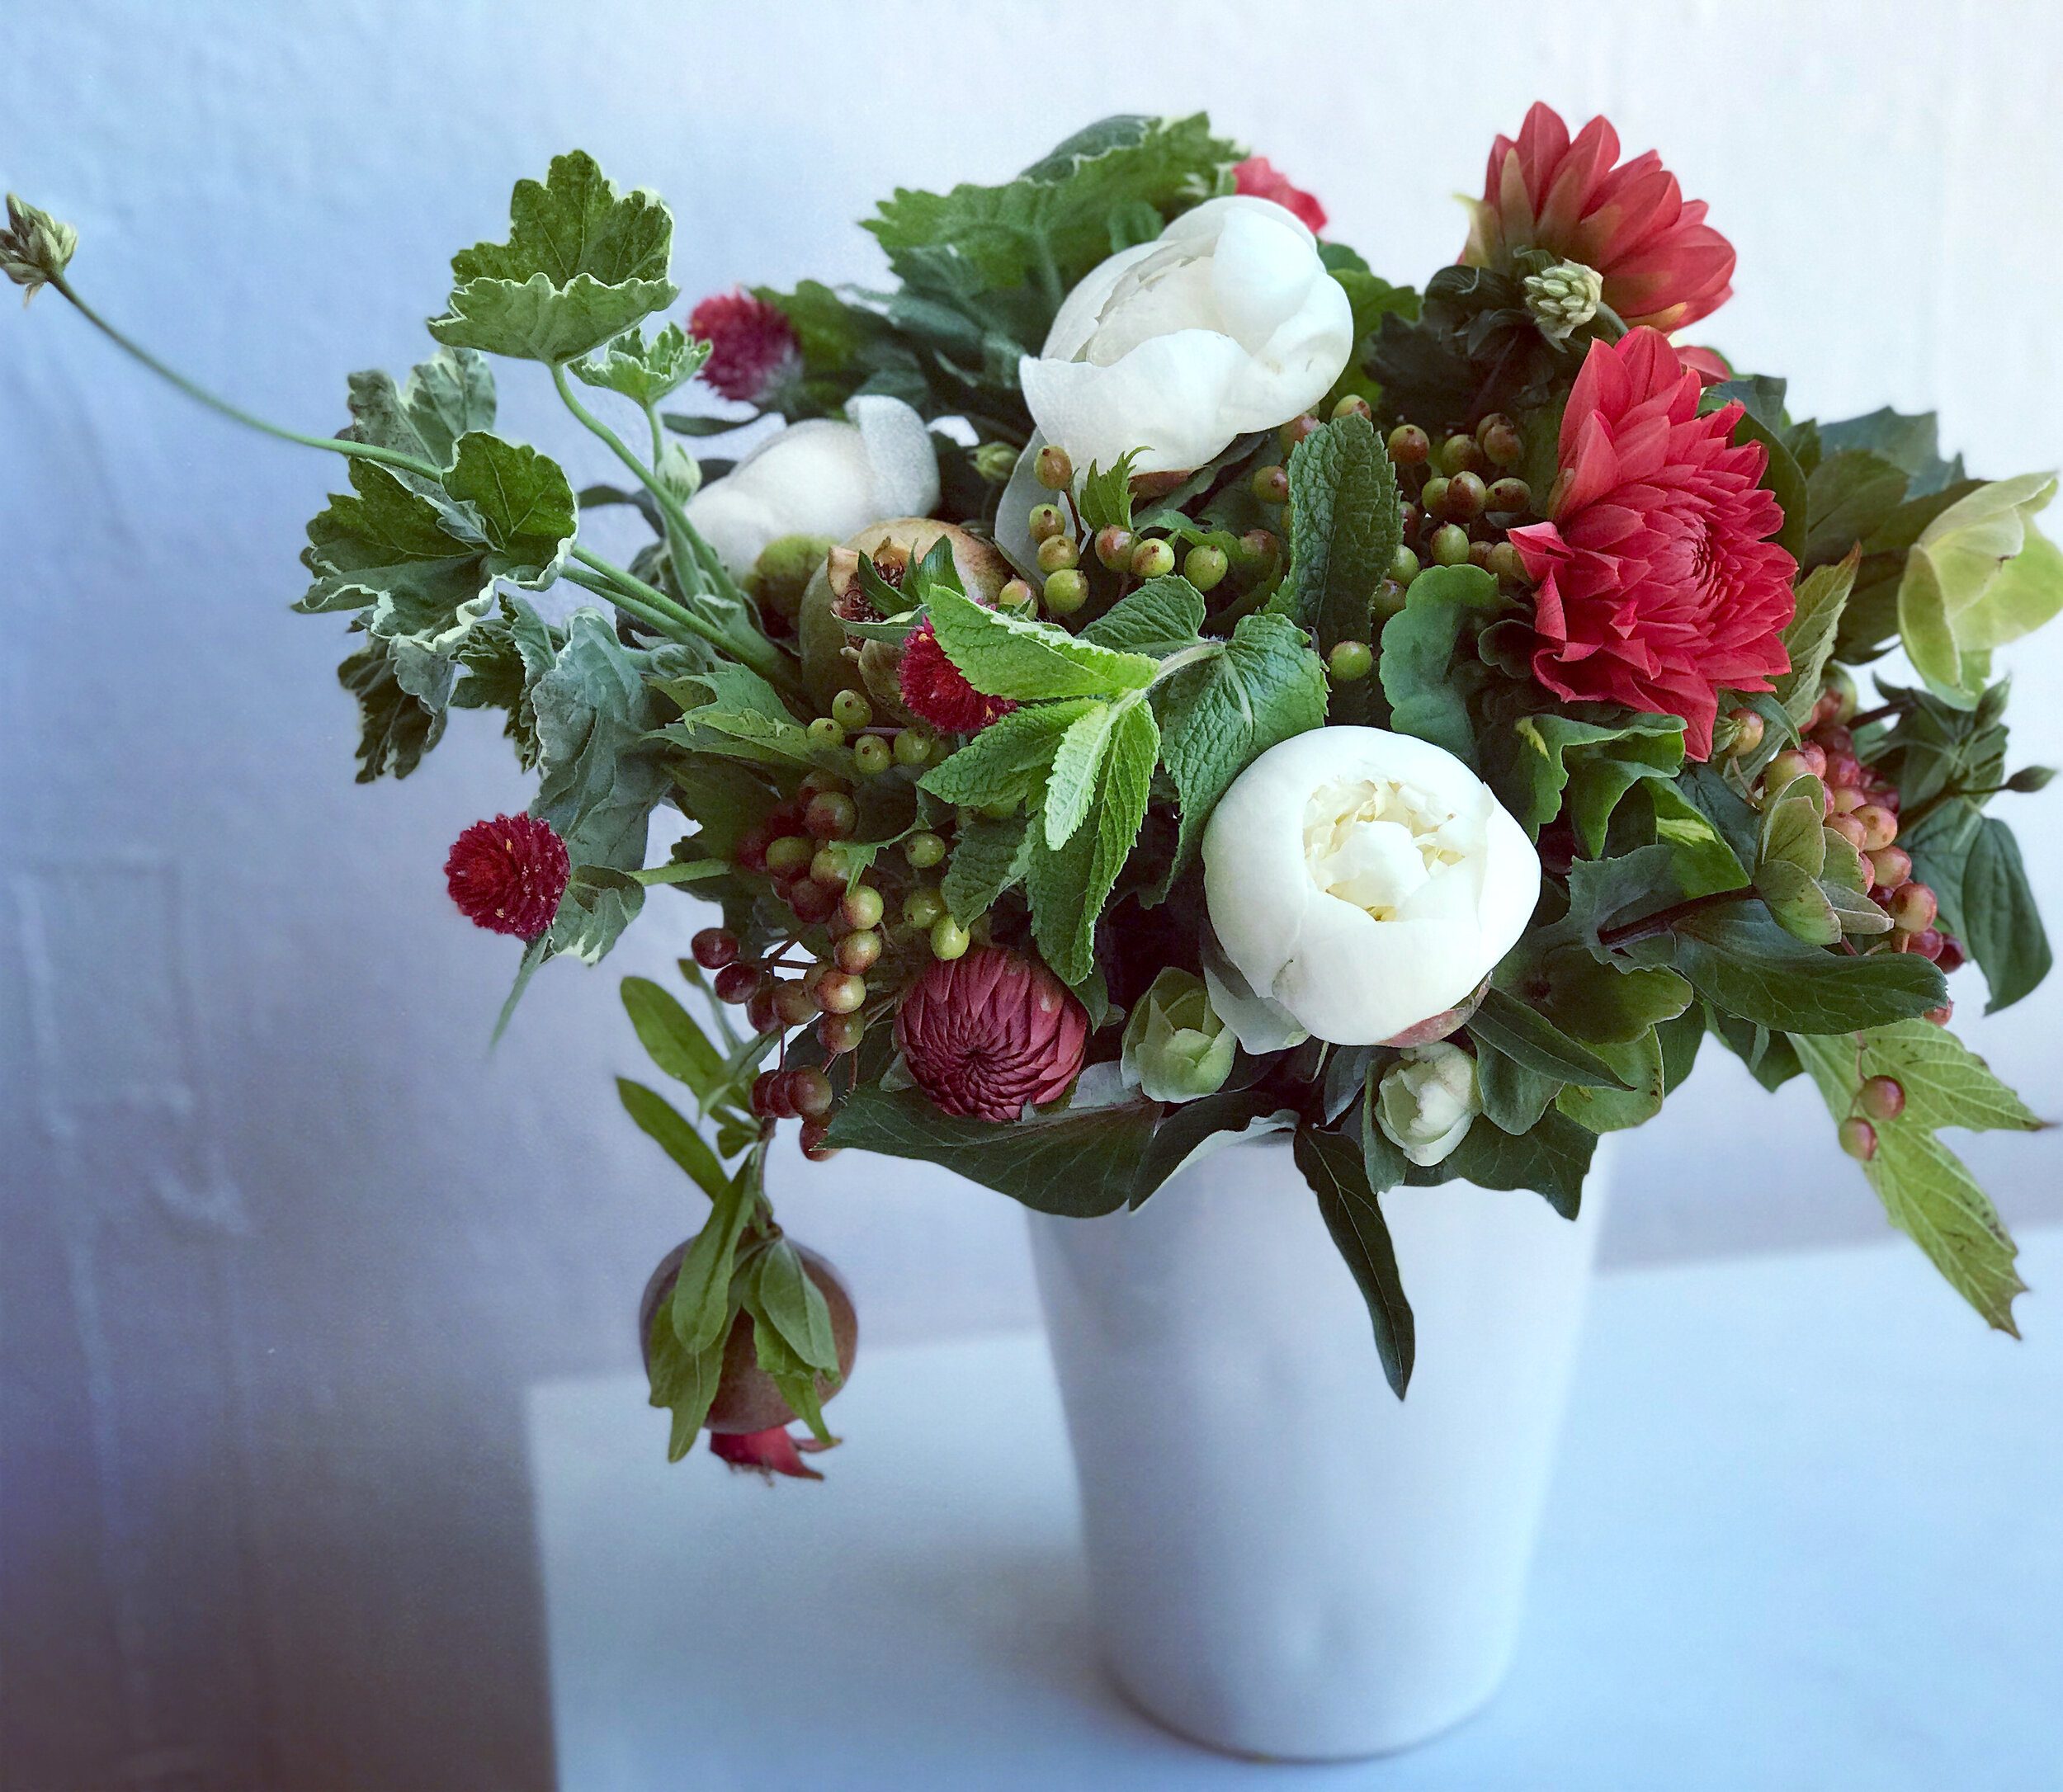


You may remember my DIY Place Card and Menu from last week. Well, I promised to share with you the DIY for the doily coasters and the table number frame and I have them for you today. My Place Card / Favor Box and Menu / Centerpiece Holder were my submissions for the Say "I DO" with Xyron and Anna Griffin Blogger Design Challenge. Please don't forget to vote for my designs here and if I'm the lucky winner, one of my readers will win the very same AMAZING PACKAGE{s} OF CRAFTING GOODIES I received for this project and they are worth $1,000.
To access the contest, click here, login to Facebook {if you aren't already} and click on the "Say I Do" contest page
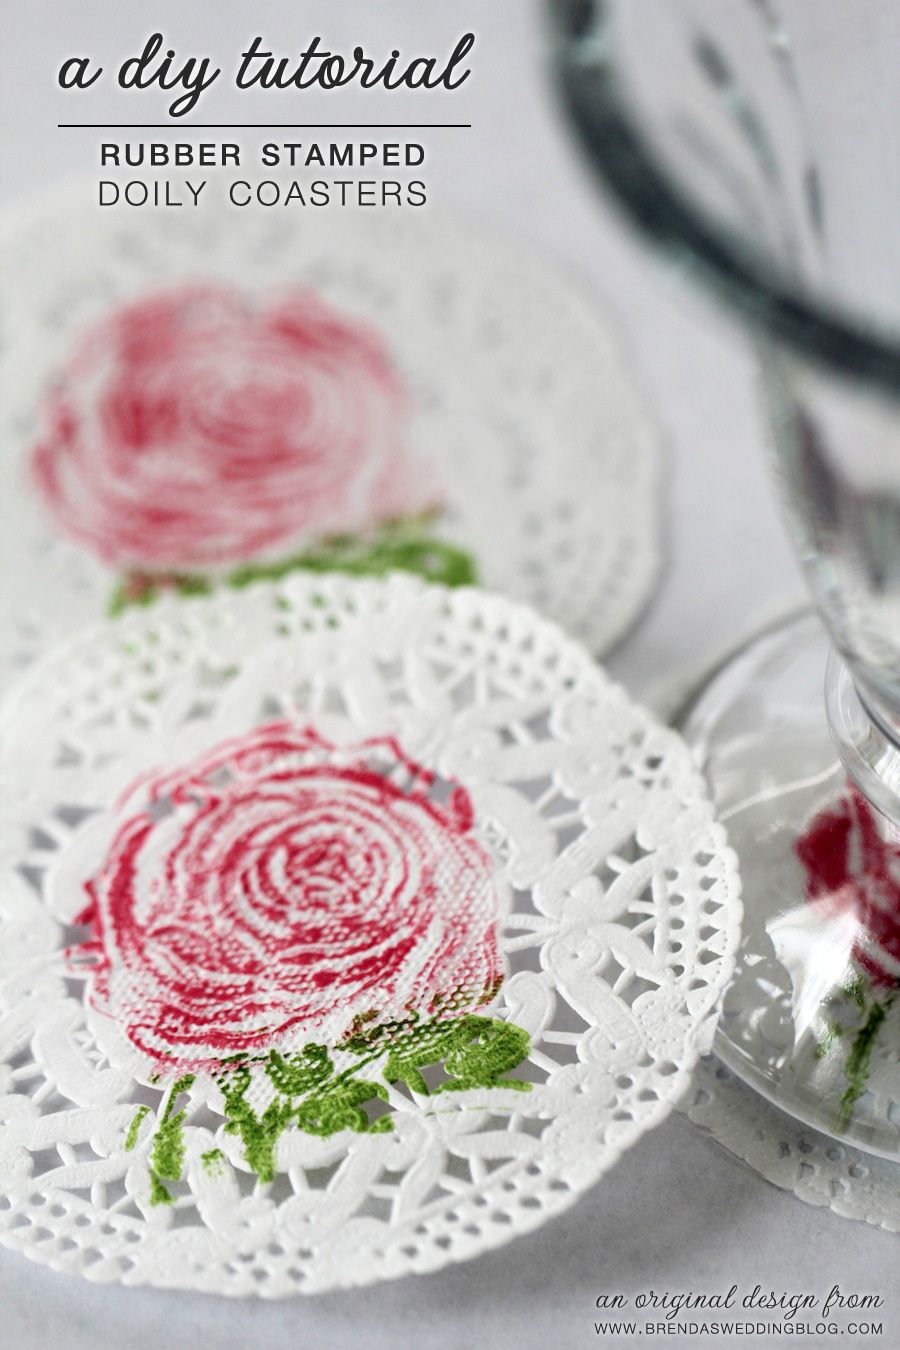
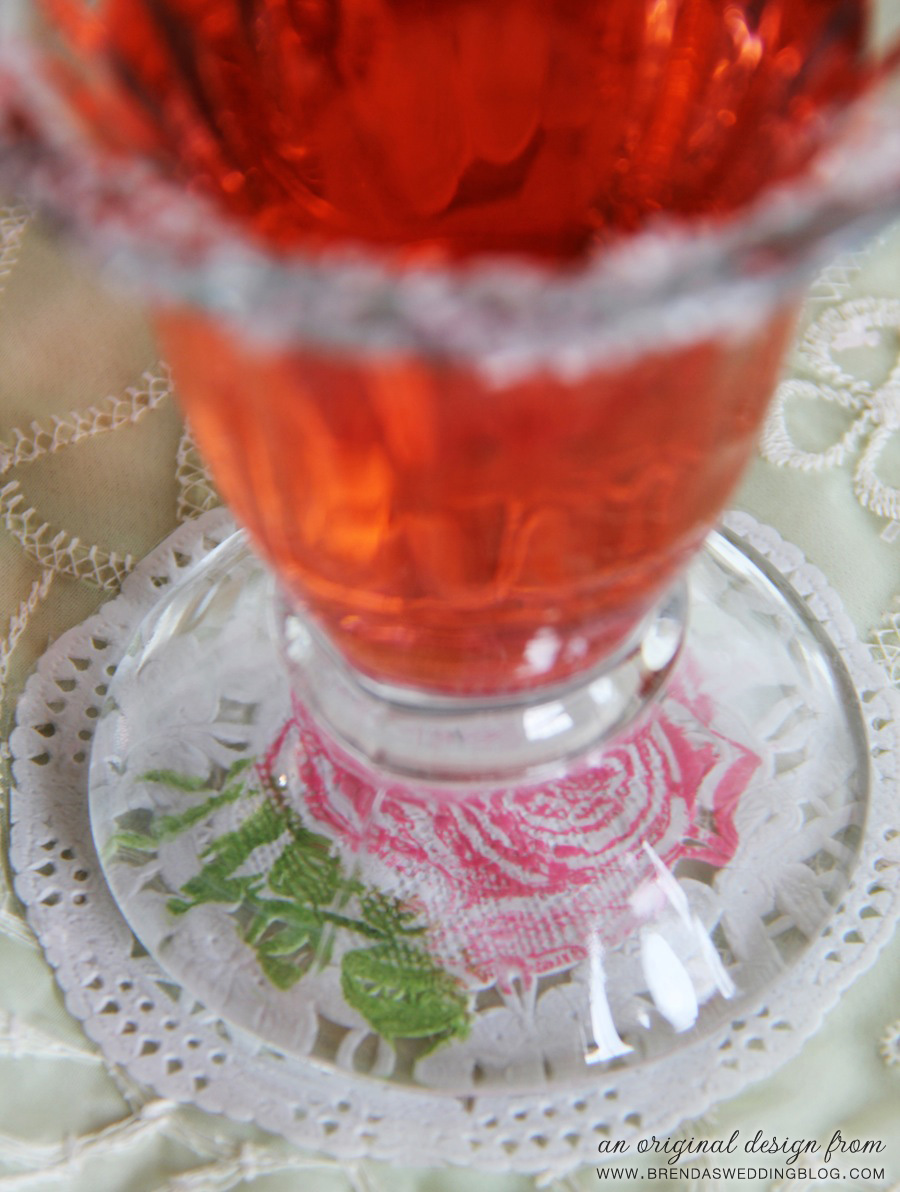
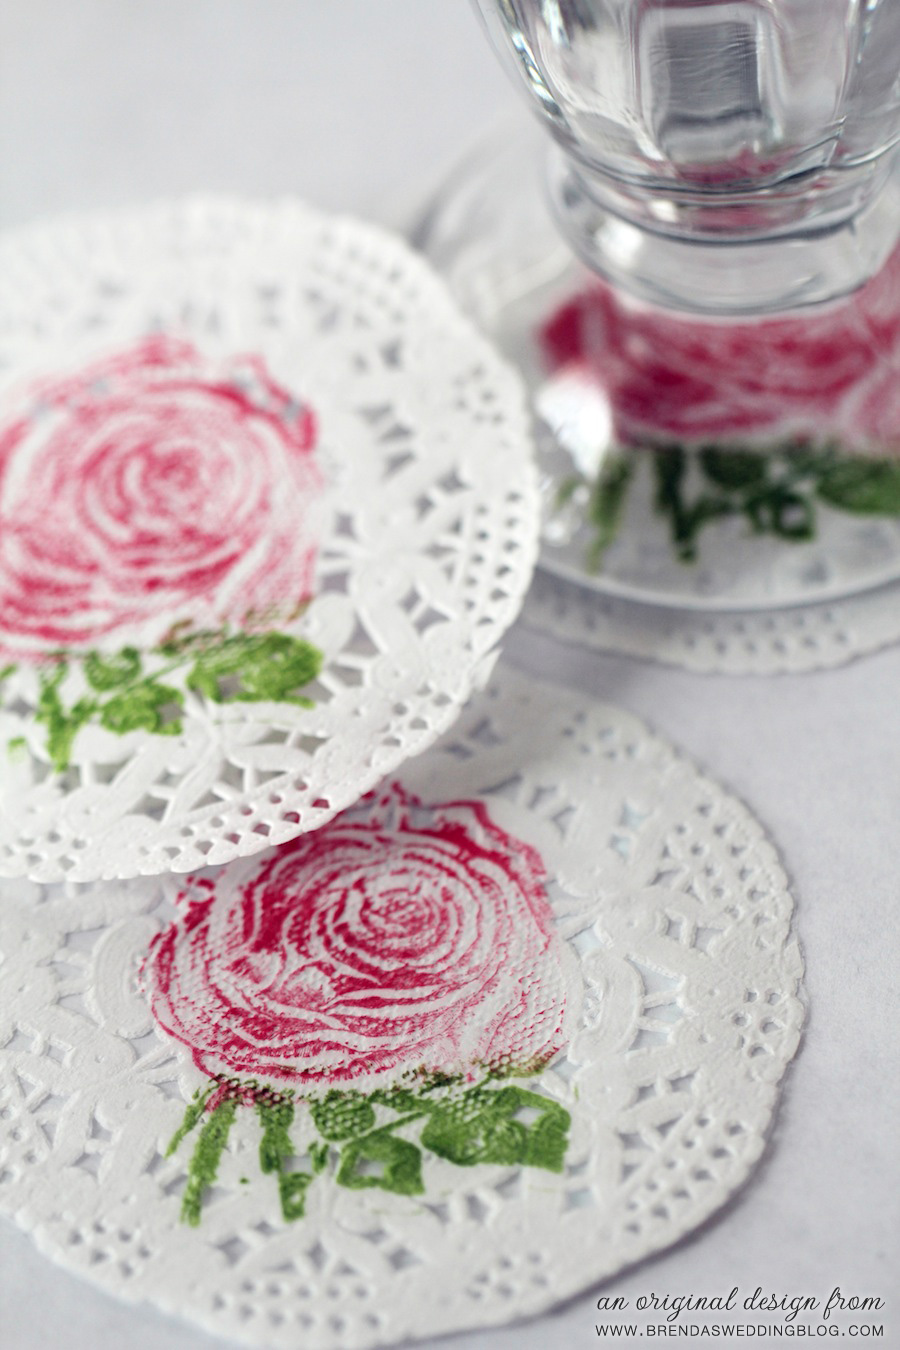
Step-by-Step Instructions for the Rose Stamped Doily Coaster
These coasters are so fun and easy to make - and can easily be created with any stamps of your choice and even on patterned paper if you choose.
Supplies Needed:
3 1/2" Diameter Paper Doilies
Anna Griffin Floral Clear Stamps
Anna Griffin Ink Pads
Xyron Creative Station with the laminate cartridge
Scissors
Instructions:
1. Using the Anna Griffin clear rose stamp {the large one}, place it on the ink pad so just the rose gets the color and stamp on the doily centering the overall rose image.
2. Then stamp just the stem and leaves in the green ink pad and then onto the paper - aligning the rose part up so it connects perfectly.
3. Be sure to let it sit for a little while to be sure it's dry.
4. Once dried, run the doilies one at a time through the Xyron Creative Station using the laminate cartridge.
5. Once done you can simply cut around the outer edge of the doily to trim off the excess lamination and both sides of the doily are now sealed to prevent them from getting wet.
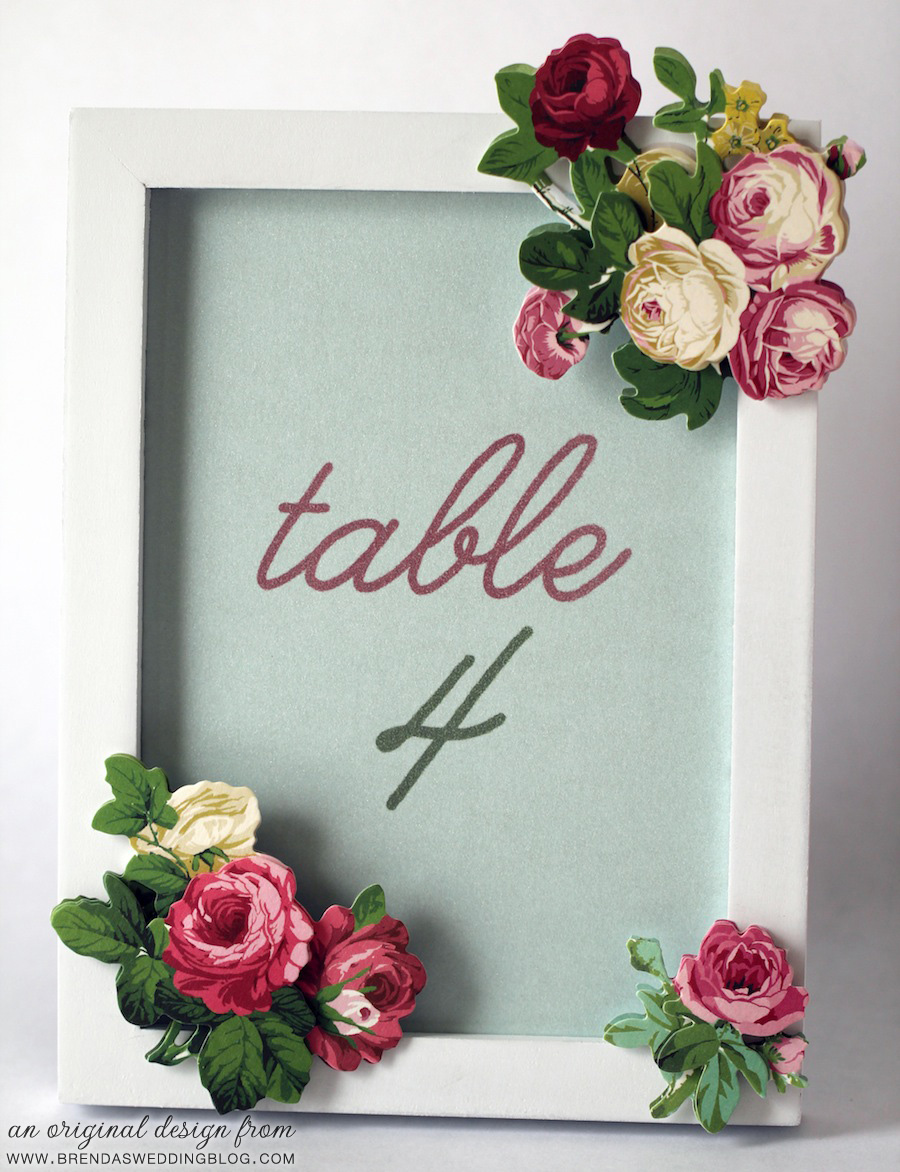
Step-by-Step Instructions for the Super Easy Table Number Frame
This table number frame is so easy and so pretty.
Supplies Needed:
Anna Griffin Metallic Paper {or any paper of your choice}
Anna Griffin Dimensional Floral Stickers
Photo Frame of your choice
Paper Trimmer
Printer
Instructions:
1. Create a document in your favorite editing program sized fit your frame {mine was 5x7 and from Walmart}
2. Print the table number and trim to size
3. Place into your frame {I left off the glass to avoid reflection and so the paper texture and sparkle could be seen
4. Choose the dimensional floral stickers of your choice and place on your fram - I like odd numbers so I chose 3 stickers