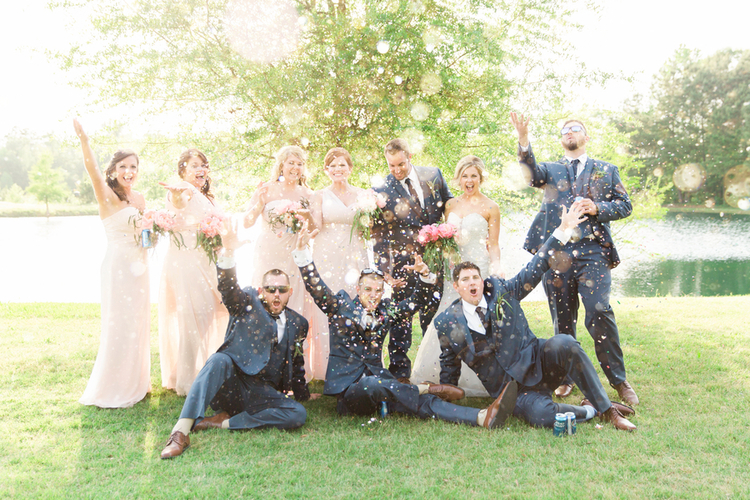
061416-southern-wedding-party-confetti.jpg

wedding blog + planning guide for creative weddings | inspiration for DIY Brides

Brenda's Wedding Blog is your online resource for planning your dream elegant wedding. Helping you find the "wow" in weddings.

Posts in DIY
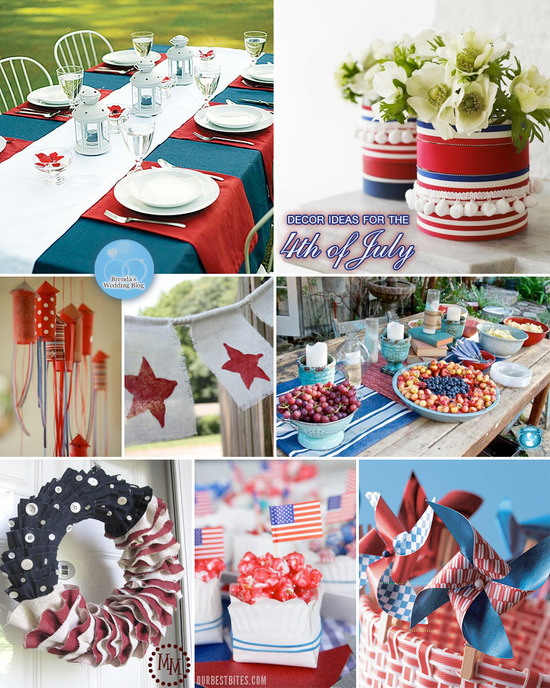
Last Minute 4th of July Decorations and Craft Ideas

With the 4th of July holiday next Wednesday, I thought today would be a perfect day to share with you some wonderful ideas for last minute decorations. These are fun and easy ways to add a festive element to your table and party surroundings. For even more ideas - including GREAT 4th of JULY PARTY FOOD, please be sure to visit my special 4th of July pinterest board.

Image Credits: Festive tabletop with fabric layering, Ribbon wrapped vases, Fourth of July confetti popper rockets , 4th of July bunting , Tablescape with fruit and salad, Burlap and denim ruffled patriotic wreath, Paper plates and rubber bands for a treat box, Clothespin pinwheels

Green Moss Wedding Ideas

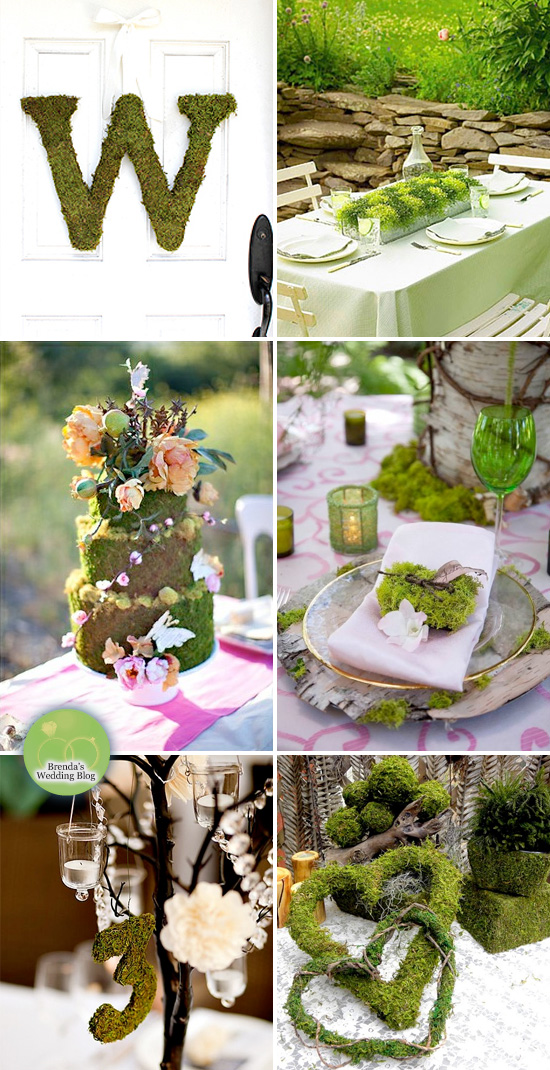
There's something so beautifully natural about using moss with your décor - especially for spring and summer events. Loving these ideas I came across. What is your favorite use of moss?

1. A moss monogram is perfect for the entrance to your ceremony or reception {can then be re-used after the wedding on your own front door} {from The Magnolia Company}

2. Moss as a centerpiece - a great alternative to flowers and makes a lovely low centerpiece for easy conversation {from Martha Stewart}

3. A moss tiered cake makes another great centerpiece and a great conversation starter too {from Pretty Little Weddings | photo by Tonya Joy}

4. Moss used on birch chargers is super clever {via Bronze Budget Bride}

5. Moss covered table numbers - hang them from an elegant branched centerpiece with beaded garlands and candles {from Camlie Inc}

6. Grapevine hearts covered in moss - perfect for entrance ways as well as décor on the backs for chairs {from Teresa's Plants and More}

---

Looking for even more moss wedding ideas? Please visit my Fun Inspiration - Moss pinterest board. And, you can follow me on pinterest too.

DIY Wedding Stationery Set How-To : save the date, invite + favor box

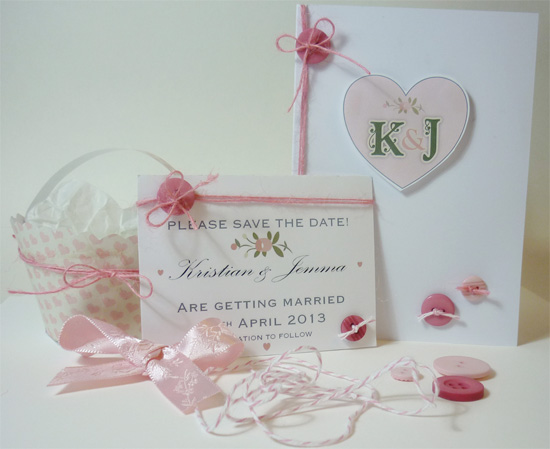
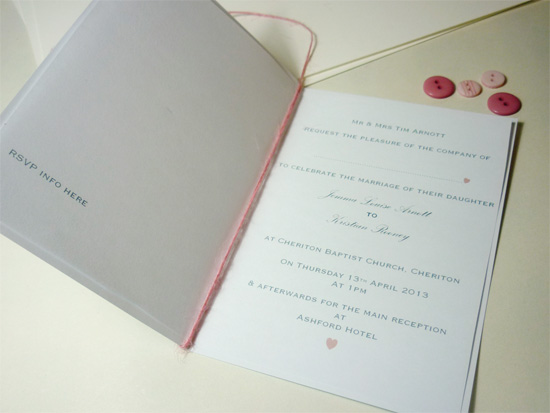
I have a fun post to start your Thursday off with - it's a DIY Wedding Stationery Set that uses Serif’s CraftArtist software and ‘Love Birds’ digikit, which can be downloaded from the social crafting website DaisyTrail.com. Below is a step-by-step guide with illustrations. You can either create the card using the free version of the software CraftArtist Compact or you can choose to buy CraftArtist Professional. The Love Birds digikit is available to purchase from DaisyTrail.com for $4.99.

Wedding Stationery Set Created using “Love Birds” digikit and CraftArtist Compact or CraftArtist Professional. Other supplies used: Inkjet paper/card, Basic card stock, Selection of twine or ribbon, Selection of small buttons, Adhesive, foam pads, or basic paper glue will work fine, Scissors and/or paper trimmer

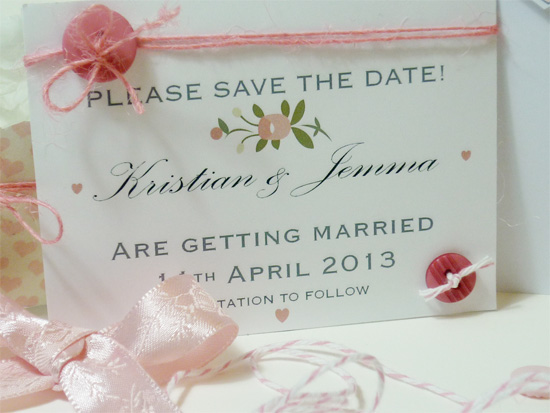
Save the Date Card

  • Starting with a blank project, choose an A4 size template.
  • Create a 4” x 3” basic rectangle as base for the card with a white fill and black line. This will be easier for cutting out after printing.
  • Add the text and then choose your fonts and lay out the text. Leave a bit of a gap at the top of the card to add some ribbon on embellishments after printing.
  • The hearts were created using a basic heart shape and color was picked from the floral embellishment in the digikit.
  • Once the card is finished, group everything so you can copy and paste to cover the A4 sheet.
  • Print on white inkjet cardstock. An off white or cream would also be nice for wedding stationery depending on your color/theme.
  • Use a paper trimmer to get more accurate cutting and it saves a lot of time if you have loads of cards to do.
  • Thread a small piece of twine through one of the buttons for the bottom corner. Glue in place.
  • Wrap twine around the top of the card and secure with a knot. Add a little bit of glue on the back of the card to keep the twine in place. Tie the button in place finishing with a simple tied bow.

*** Top Tip: Why not add some magnetic tape to the back of the card?  Available in most craft stores, this will be great for your family and friends to stick it to their fridge!

Wedding Invitation

  • Start off by making the card insert. Shown with an A6 card insert and text using the same fonts as the “Save the Date” card.
  • Print on high quality white inkjet paper and folder ready to insert into the card.
  • For the wedding invitation, choose an A6 card template and use the same embellishment from the Love Bird digikit. Also added are some letters and a heart.
  • Print them on a separate sheet and add them using foam pads to add a bit of dimension.
  • Once printed and folded, add the buttons and twine much the same way as “Save the Date” card. For added dimension you can use foam pads to stick the hearts on.

Favor Box

  • This was created using the cupcake holder template with a background from the Love Birds digikit.
  • Print on card and cut out and then assemble. Some glue and a little bit of tape was used to hold in place.
  • Draw a circle using the base of the cupcake holder (once assembled) as a template.
  • Cut out and secure holder to the base – again, using glue and tape.
  • Create a little handle from a printed out A4 sheet of card. Measure approximately 1/2” and then cut and secure using tape.
  • Add your own embellishments and tissue paper to finish off. Shown with a couple of buttons and some pink twine to match the invites.

*** Top Tip: You could also add names to the favor boxes so they double up as place cards. Use metallic pens for added sparkle and glamour.

The above design is by Diane Rooney. More information on CraftArtist can be found online.

DaisyTrail.com is an affiliate of Brenda's Wedding Blog

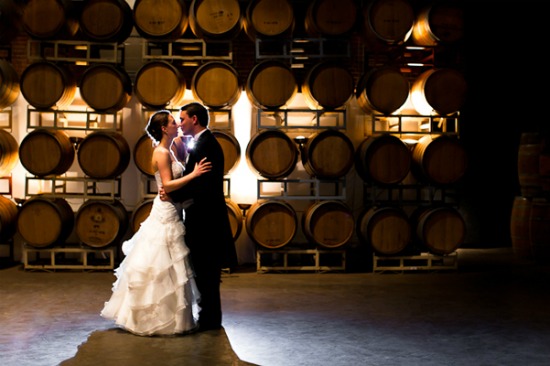
Classic, Vintage Wine Country Wedding with Handmade Touches

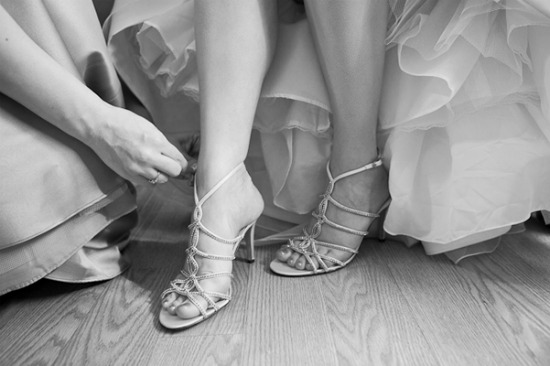
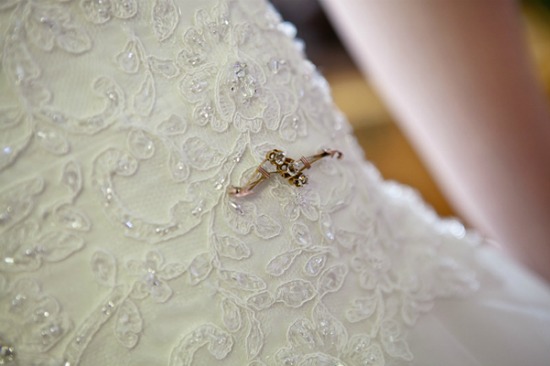
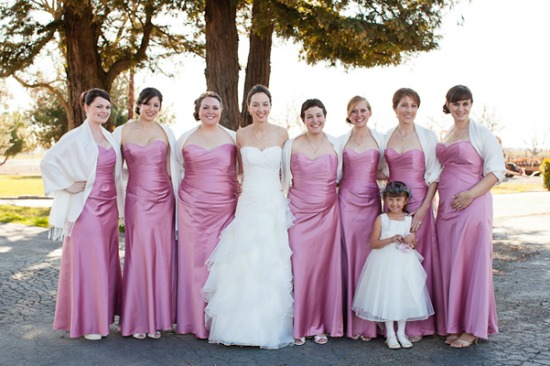
I always get excited when a photographer emails me directly to introduce themselves and share with me a lovely wedding that I then get to share with you. Jasmine Lee Photography submitted this super sweet handmade wedding of Laurel and Stephen and the bride is here to share her perspective on the wedding.
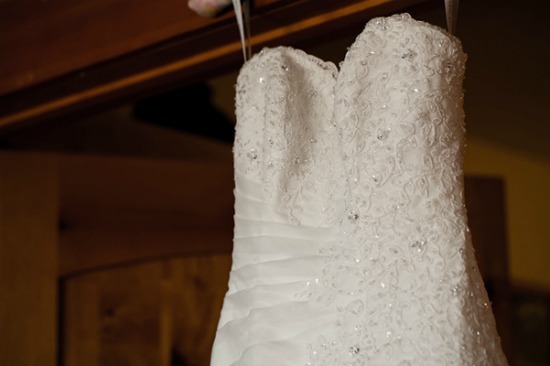
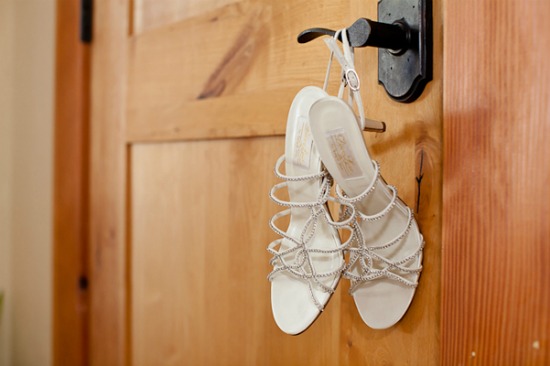
The brides writes . . . "The theme I had envisioned for our wedding was classic, yet vintage; elegant, yet rustic; and infused with tradition. I fell in love with the town of Clarksburg (where our venues were located) upon my first visit. Stephen’s family of Dutch dairy farmers helped found the town after arriving here in the 1800s. Grapes turned out to be a better option for the location, so they switched to the wine industry."
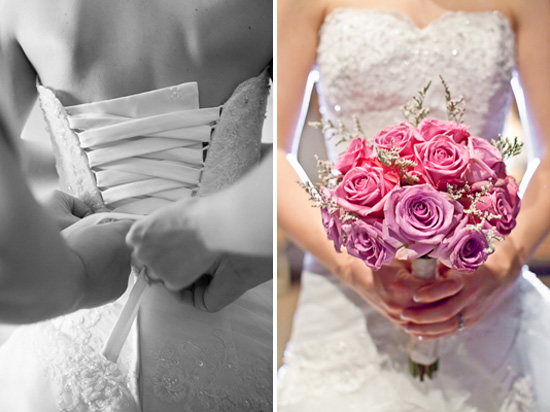
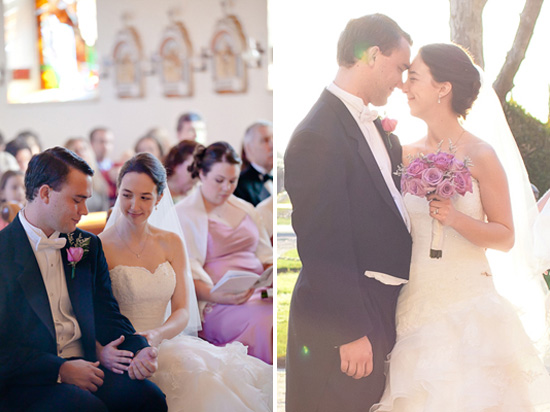
The Mass was filled with the love of family and friends . . .
• a dear friend was their officiant
• the bride's brothers served the Mass
• a group of the bride's friends from her college choir came to sing
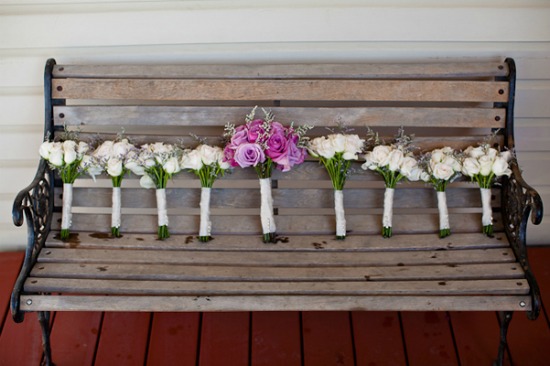
• the bride's mother created all the floral arrangements for the church
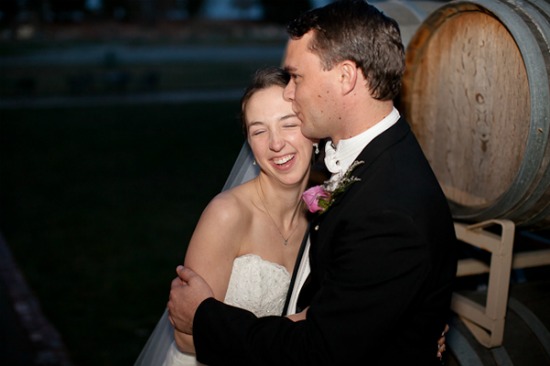
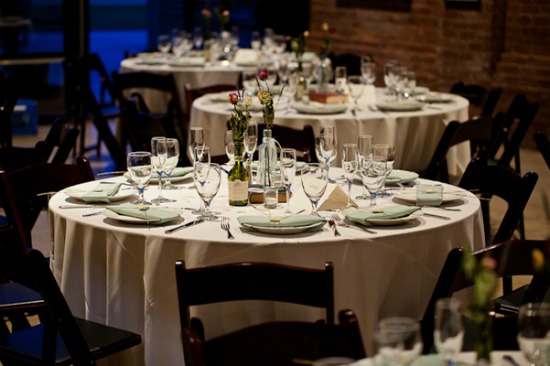
With Laurel being a food blogger for Chewy Morsels and both herself and Stephen loving good food and drink, they served their guests a delicious Italian dinner with a great wine selection. Laurel's friend flew all the way from Texas to bake and create their wedding cake which was carrot cake with chocolate strawberry toppers.
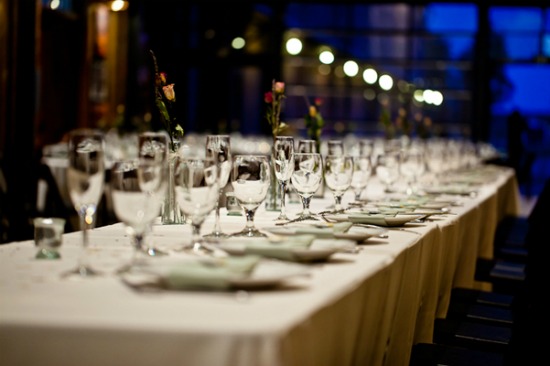
Handmade wedding touches included . . .
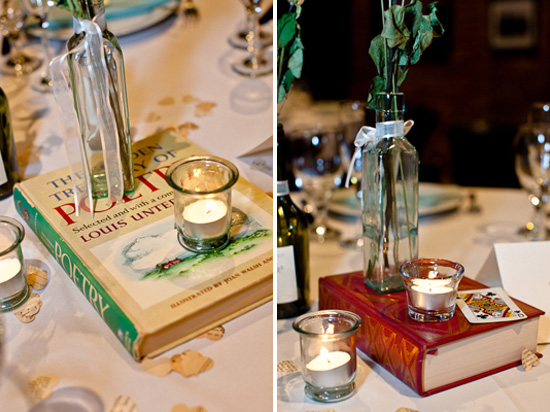
• the drying out of 15 dozen roses to make the table decorations with wine bottle vases
• with the bride and groom both having a great love for literature, book "pedestals" were used to display the floral arrangements
• in the center of each napkin was the favors for the guests - lavender sprigs with a tasting square of dark chocolate from Scharffen-Berger to accompany their toast of port
And, lastly, here are some memorable moments from the bride and groom:
Laurel: The most memorable moments of the day were twofold for me: saying our vows to each other — it was such a heartfelt and intense moment — I couldn’t have been happier to make those promises to Stephen, and when we were dancing to our first song together. It felt like we were the only ones in the room, spinning and twirling together, looking each other deeply in the eyes, for the first time as a married couple.

Stephen: When Laurel came down the aisle of the old mission style church along the Sacramento Delta, she looked like an angel, and the only one in the room. The local priest afforded us the opportunity of being married there, when typically it’s only parishioners, was truly an honor.

Wedding Vendors:

Reception Venue: Old Sugar Mill
Wedding Coordinator: Laurel Muff (day-of: Kayleigh Lembke)
Florist: Laurel Muff, bridesmaids, and Greta Munsill
Cake Artist: a friend, Emma Kenney
Makeup Artist: a friend, Diana Freeman
Hair Stylist: a friend, Maria Kalberg
Wedding dress designer: Alfred Angelo
Bridesmaids dress designer: Alfred Angelo
Tuxedo designer: Jos. A. Banks
DJ: a friend, Anthony Smitha

4 Easy Spring Ideas for Table Decorations : perfect for Easter too

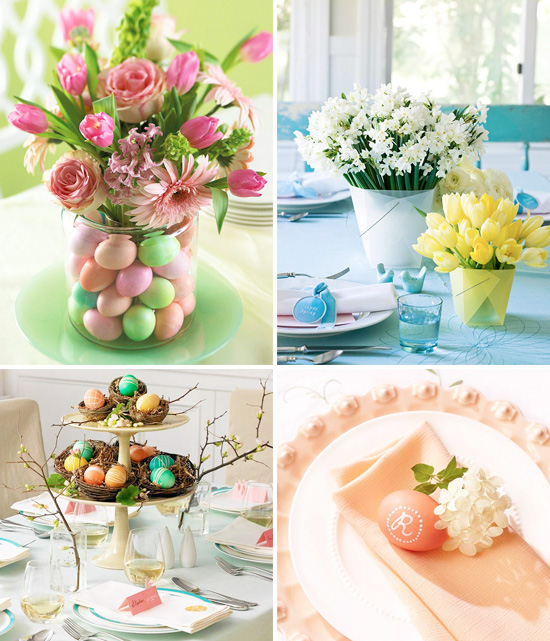
Loving these fun ideas from Better Homes and Gardens for your spring and Easter table décor.

Pastel Flower Bouquet with Eggs in a Vase: Simply place a clear drinking glass or thin vase in the center of a wide jar or larger vase and then stack eggs between the glass and the jar. You don't have to use real eggs either - there are so many choices at the craft stores - from plastic to fabric and even those paper maché ones are perfect for this. The flowers used in this arrangment include roses, gerbera daisies, tulips, hyacinth, and bells of Ireland.

Floral Centerpieces in Take-Out Boxes: This idea is brilliant and looks amazing. Using decorative take-out boxes that you can find at craft stores - simply arrange your flowers inside of them. I would suggest placing a smaller glass vase inside the boxes to be sure it is waterproof.

2-Tiered Easter Egg Centerpiece: Egg-filled nests look beautiful when displayed on a 2-tiered dish for a pretty and easy to make centerpiece.

Painted Easter Egg "Place Card": These hard-boiled eggs will let your guests know where they are sitting when their monogram is hand-painted on them. For a sophisticated look, you can place the egg with a sprig of white flowers on top of a colored napkin that matches your party colors.

see more ideas here