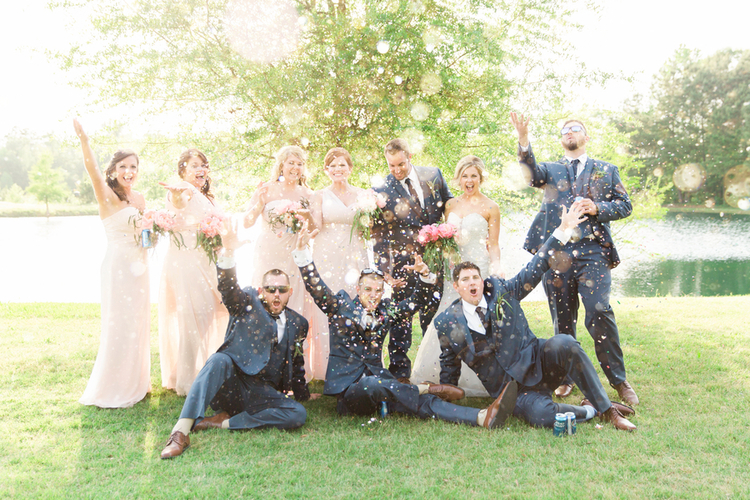
061416-southern-wedding-party-confetti.jpg

wedding blog + planning guide for creative weddings | inspiration for DIY Brides

Brenda's Wedding Blog is your online resource for planning your dream elegant wedding. Helping you find the "wow" in weddings.

Posts in DIY
Eye Candy Friday : v104 {not your ordinary strawberry cake}

Today's Eye Candy Friday is a bit different - not only is it showcasing a not so ordinary strawberry cake, but I also have the DIY tutorial for you to recreate this beautiful centerpiece, which is the perfect décor for spring and summer weddings. It's also a great way to take your wedding inspiration from the season's freshest fruit, strawberries. Don't you just LOVE the baskets brimming with fresh strawberries?
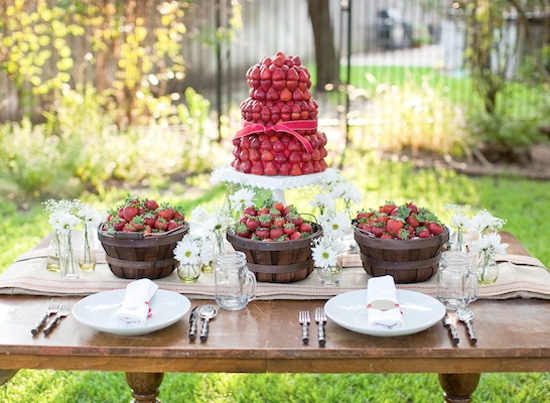
The above Driscoll’s Strawberry Tablescape and "Wedding" Cake was created by entertaining expert Tara Wilson and the "cake" adds color, height, vibrancy and a bit of sophisticated whimsy to the wedding decor. Not only are the fragrant, sweet berries with their deep red hue are memorable, fresh and vibrant, they are also perfect for guests to enjoy Strawberry

Tablescape and Strawberry Cake

Items Needed for Strawberry Cake
(6) round Styrofoam wreaths in (3) graduated sizes (12”, 8”, 4”)
(1) bag of floral pins or cleats
(2) bolt of red ribbon
(3) flats of Driscoll’s strawberries
(1) cake stand
Cutting knife 

Steps:
1. Wrap each of the wreaths with the red ribbon, making certain that none of the Styrofoam is visible. 
NOTE: if the ribbon is too thick it will be challenging to push the pins through. Selecting a ribbon that is not tightly woven will make this process easier.
2. Attach the (2) largest wreaths together using the floral cleats to form the base of the cake.
3. Remove the stems of each Driscoll’s strawberry, making sure to create a clean even cut. Then cut each berry in half length wise.
4. Begin to cover the outer edges of the (2) largest wreaths with berries in a circular pattern until outer ring is covered.
5. Attach the (2) medium sized wreaths together using the floral cleats to form the second layer of the cake.  6. Repeat steps 3 and 4.
7. Attach the (2) smallest wreaths together using the floral cleats. This will form the top layer of the cake.
8. Repeat steps 3 and 4.

Event Designer and Entertaining Expert, Tara Wilson, tied a small red ribbon around the center of the strawberry cake to complete the look. The Driscoll’s Strawberry cake served as the centerpiece for this spring wedding tablescape.

About the Expert: Tara Wilson is the owner of Tara Wilson Events, a full-service event company committed to providing creative, well-executed and memorable events for individual and corporate clients.

Real Wedding : a DIY pink and green Colorado wedding

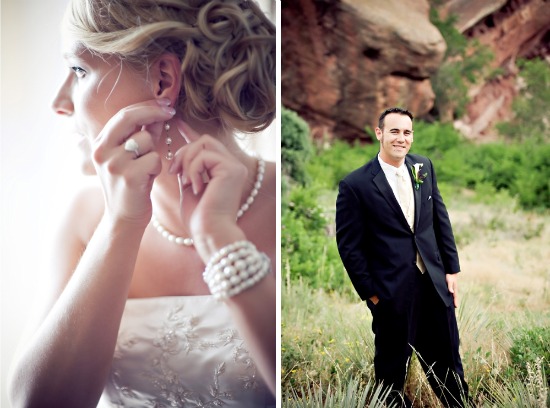
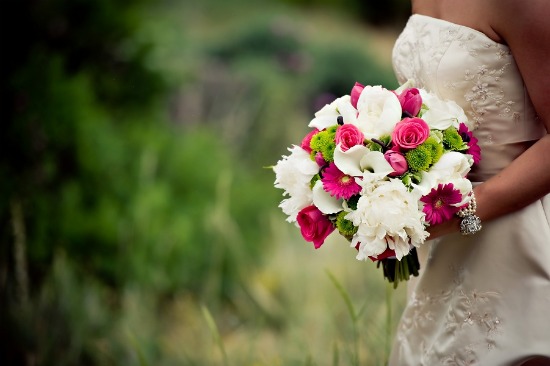
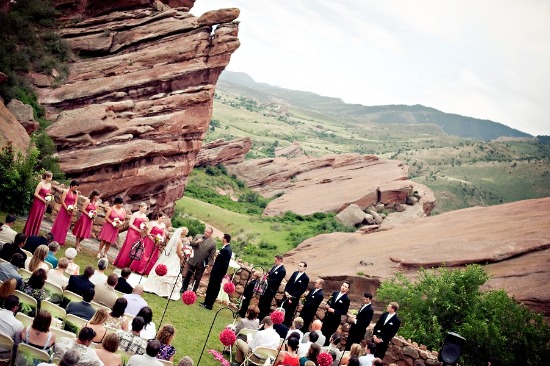
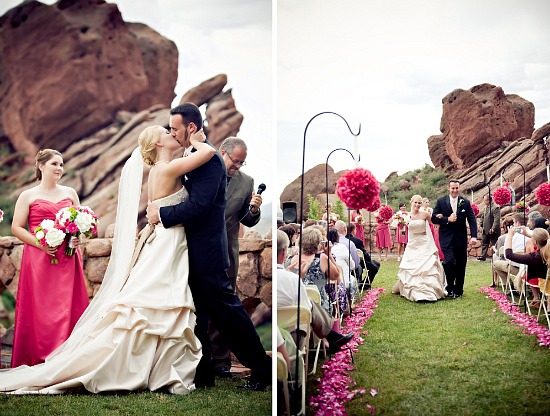
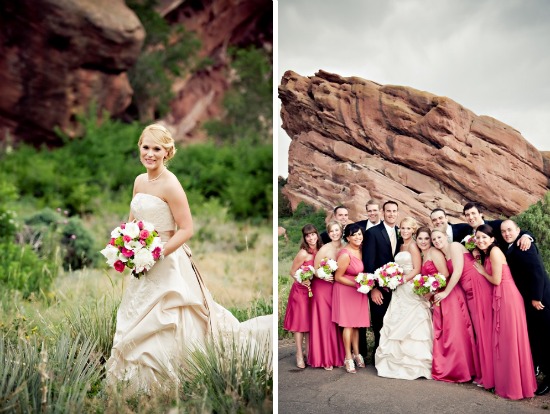
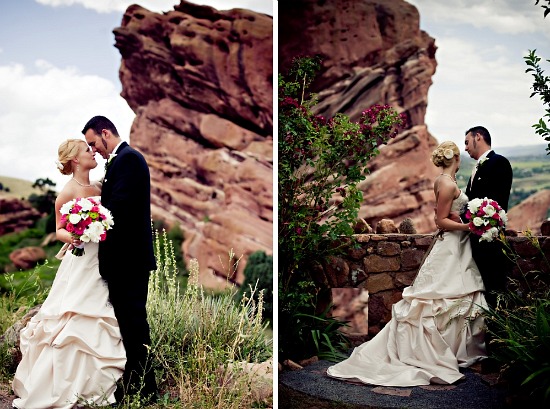
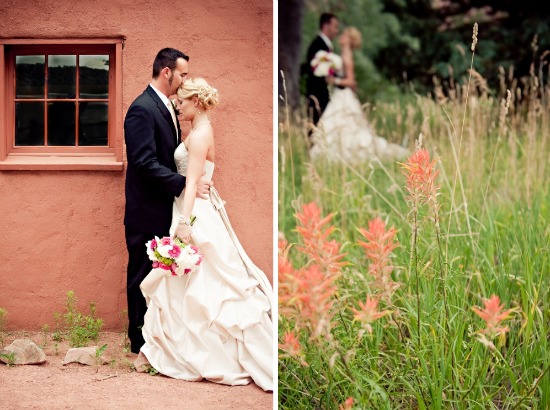
Today's beautiful wedding of Melissa and Derek was filled with DIY creations and Melissa is sharing many of the projects with us today. And, just wait until you see the view from the ceremony site - it's absolutely AMAZING!!!!!! Photographs are by Real Photography.


For the pomanders, Melissa bought MANY fuchsia flowers from Walmart & styrofoam balls from Hobby Lobby. She explains how she made them: "I made a hole almost all the way through the ball, filled with hot glue & put the ribbon in to make a loop up top.  Made a hole in the styrofoam with the flower stem, filled the hole with glue & then put the flower in. Repeated this until they were very full looking. I made 8 fuchsia one's that hung on 7 ft shepherds hooks along the aisle."


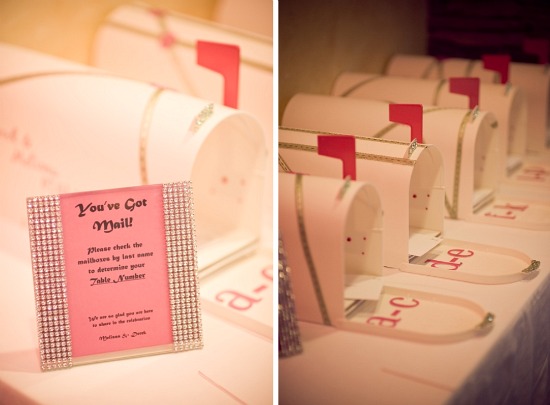
Melissa was trying hard to think of something unique for the escort card table and ended up buying 5 mailboxes & decorated them with ribbon in contemporary patterns and "blinged out" the top tab. She also added fuchsia chipboard letters to the bottom, so guests knew which mailbox their "letter" would be in. Melissa even made a sign that said "You've Got Mail!". Printed on the envelopes was the couple's/family's name and what table they were at.


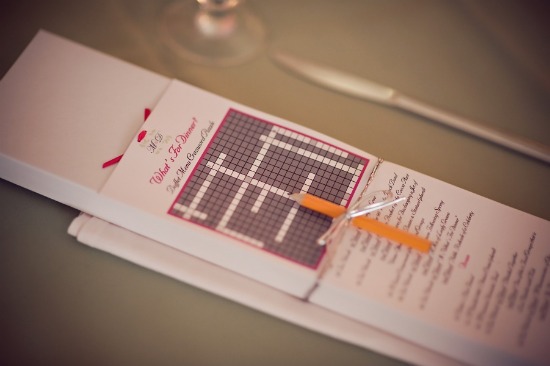
For the menus, Melissa created crossword puzzle menu cards. They ended up being a layered menu card so the 2nd page provided the answers as well as the detailed menu. You can see Melissa's full detailed instructions for creating these menus here.

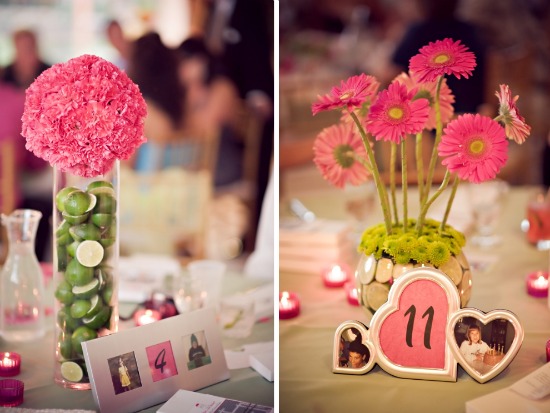
For the table numbers, Melissa loved the idea of using 3 part frames with the table number & photos of her and Derek at that corresponding age. Melissa did say that it "took some time to collect enough frames that went with the contemporary wedding vibe & had 3 parts, but it was worth it!" Melissa printed out large table numbers & adhered them to fuchsia cardstock.

Wedding Vendors:
Photographer: Real Photography
Day of Coordinator: Danielle Odil of Something Classic Events
Ceremony Venue: Red Rocks Trading Post (Morrison, CO)
Reception Venue: Mt Vernon Event Center (Golden, CO)
DJ: A Music Plus
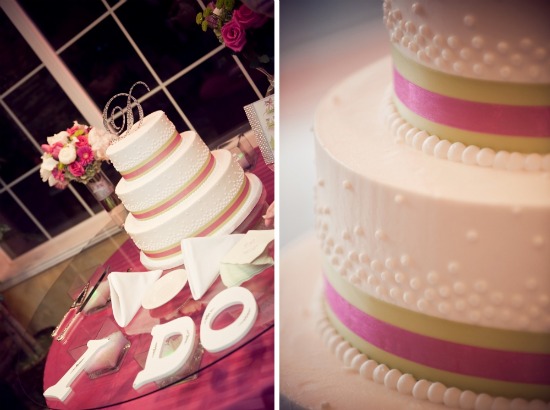
Cake: Melissa's bridesmaid made it
Videographer: Mowry Productions
Florist: Hillside Consultants
Dress: Oleg Cassini
Chocolate Fountains: Sir Chocolate LLC
Transportation: Ambassador Rolls
String Quartet: Leavitt Music Services
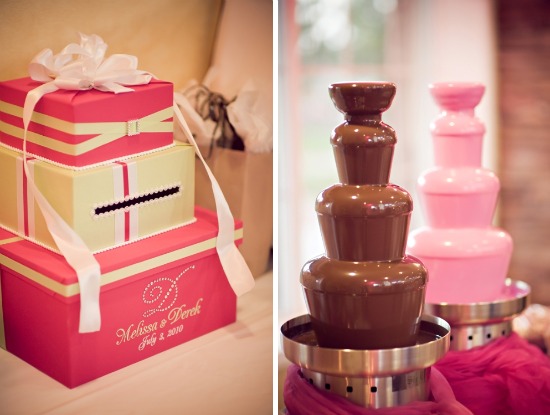
Cardbox: For the Modern Bride
Cake topper & Serving Set: Toppers With Glitz

Photo Shoot : a romantic picnic in the park for St. Patrick's Day

It's time for this months Wedding Vendor Challenge - starting today thru Thursday I'll be featuring the modern spring themed photo shoots from the Wedding Vendor Challenge for March. I asked vendors across the US and Canada to team up and create an intimate tablescape for two with a dessert display. I supplied a color palette for all vendors to work with and for this shoot it was green with accent colors of brown, cream and pale yellow. It could be St. Patrick's Day related, although this wasn't a requirement, so you'll be seeing a bit of both this week. I also asked each team to provide at least one DIY design. So, here we go - the first Wedding Vendor Challenge for March from Green Orchid Events in Las Vegas . . . a romantic picnic in the park . . .

Photography was provided by Adam Trujillo Photography with all paper goods being designed by Ashley of Lemon and Lavender and the desserts were from Peridot Sweets.
Juliet wanted to design a romantic picnic set up at a park. All desserts had hints of traditional Irish flavors such as the Stout Chocolate Cake {with Irish Whiskey and Cream Cheese Frosting}, Chocolate Covered Sandwich Cookies {with Irish Cream Filling} and Irish cream chocolate ganache shots.
Don't you just love the desserts suspended in the glass holders from the trees?

DIY Download : Ashley of Lemon and Lavender is here to share with us the Sláinte water bottle labels. They will fit 1 liter bottles and can be printed on text paper and glued in place or you can buy the 8.5 x 11 adhesive paper and print and crop. Simply print out the pdf after downloading via this link from Scribd and follow Ashley's directions from above. {the download link is directly underneath the item title in the right column once on Scribd}.
A huge thank you to Juliet, Adam Ashley and Peridot Sweets for kicking off the 2nd Wedding Vendor Challenge week with a lovely picnic for St. Patrick's Day. Please stay tuned all week as I have more wonderful designs and ideas coming your way.

Design and All Props: Green Orchid Events
Photography: Adam Trujillo Photography
Desserts: Peridot Sweets
Stationery: Lemon and Lavender

Real Wedding : brides motto ... "less is more and its all in the details"

Location: Vancouver, BC, Canada
Guest Count: 100 including bridal party

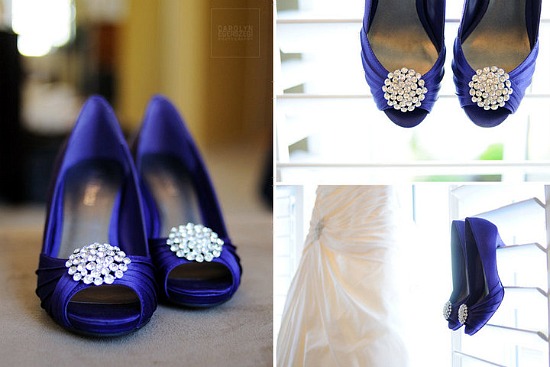
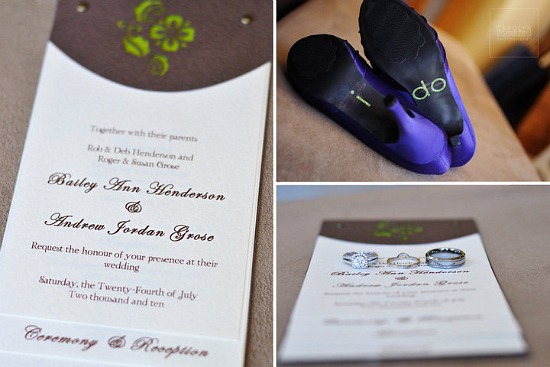
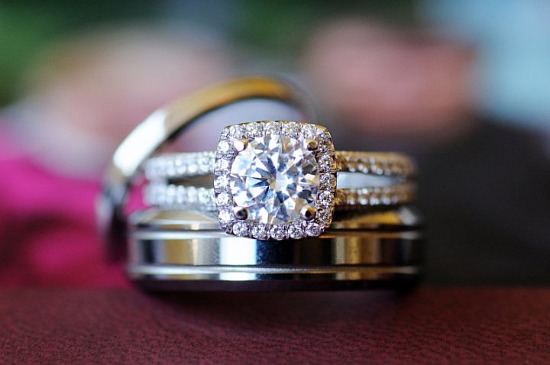
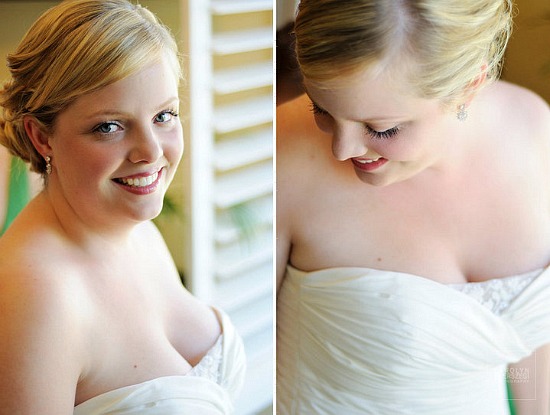
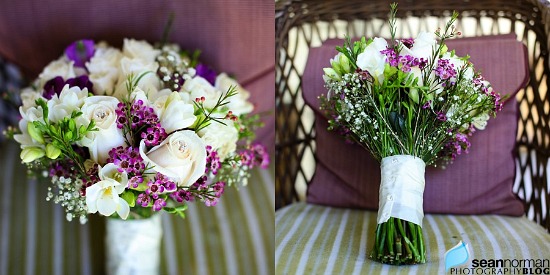
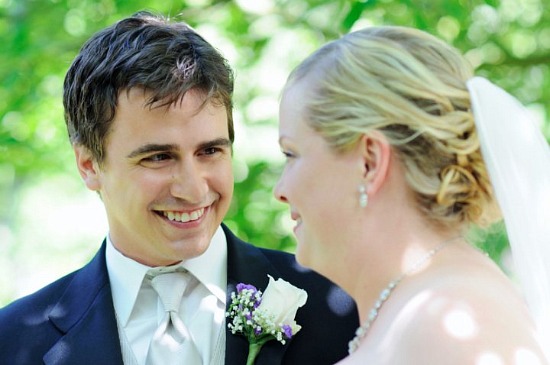
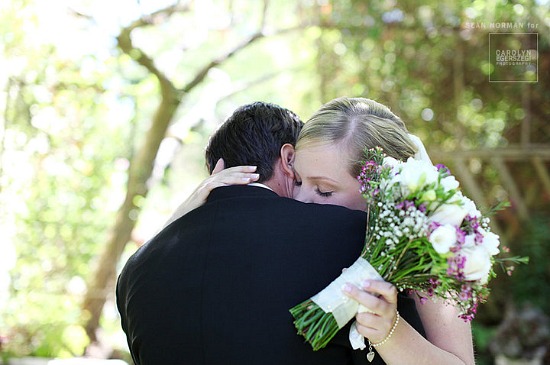
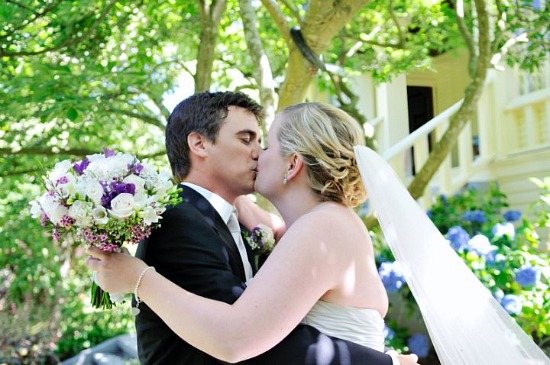
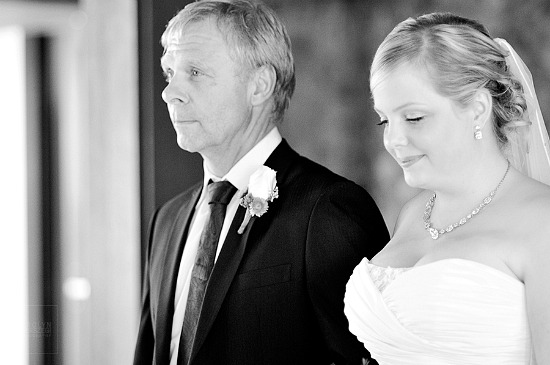
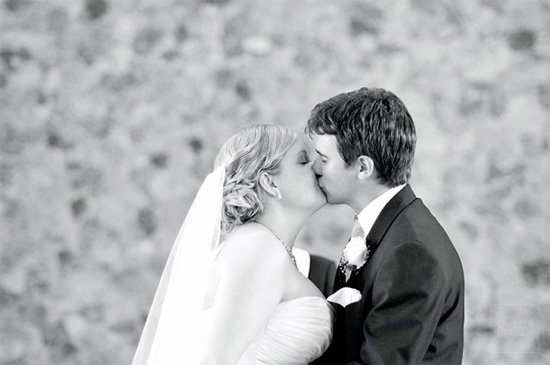
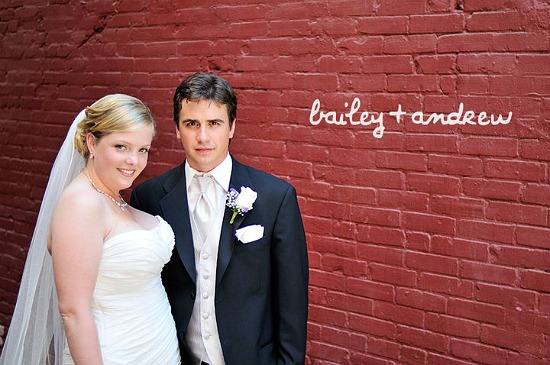
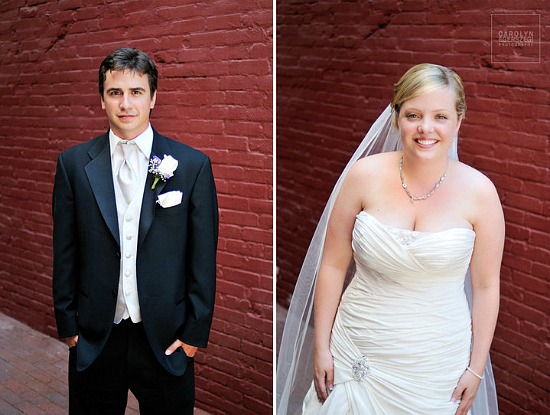
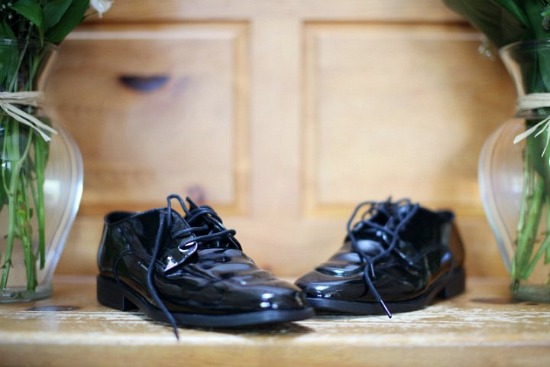
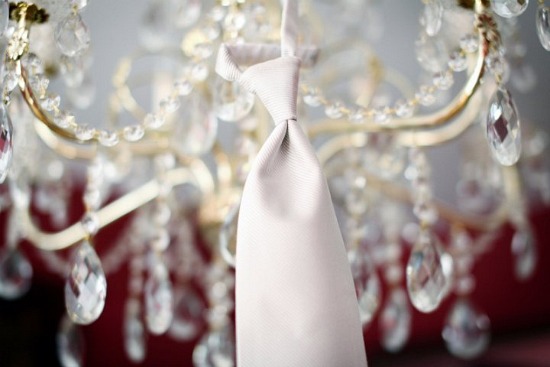
I'm very excited to bring you today's Real Wedding from Vancouver, BC, Canada. Bailey, the bride, follows me on Facebook and asked about submitting her wedding. As soon as I saw it, I knew it was a must feature - you are going to LOVE it. The photos from Carolyn Egerszegi Photography {and second shooter Sean Norman} are stunning and perfectly capture all the little details. And it's not something I see often, but Carolyn also focused on the groom's accessories for the detail shots - including his shoes and even his tie hanging from a chandelier.

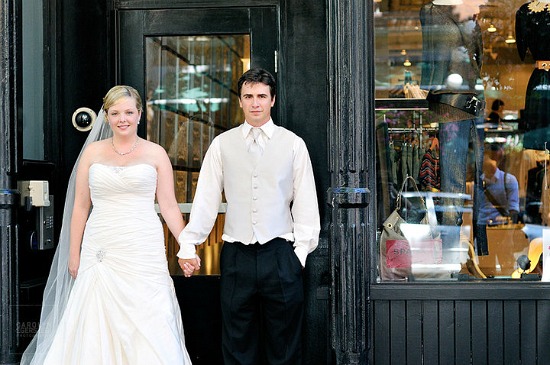
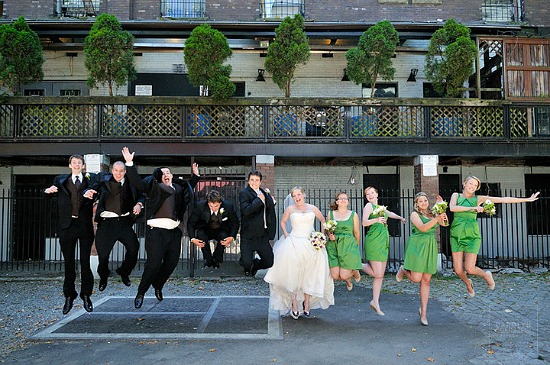
All of the wedding party photos were taken before the ceremony in the historic gastown in Vancouver. Bailey says she "loved the edgy city feel it gave but had the natural looking cobblestones, gas lanterns, bright and flowered hanging baskets." Bailey met her soon-to-be-husband, Andrew, at a 98 year old home across from her apartment for their first look photos. After all the photos were taken, they went to the ceremony at 5pm and straight to the reception at 6pm.

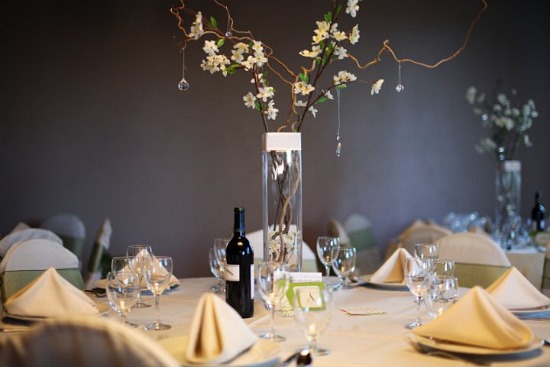
Bailey grew up in a small town with the population just reaching the 800 mark. So when she moved to the "big city" of Vancouver, Bailey wanted to compromise and infuse her past into the present and future. To do this, Bailey chose to have "a low key, grassroots level wedding with the added touch and class of a Vancouver high class wedding". Bailey continues to explain . . . "I used the elements of stone, glass/crystal, "green" and nature to pull this all together. The church was entirely made of glass walls on two sides, with the ends made of river rocks all framed by a vaulted timber roof. It was small and very intimate church that both my husband and i fell in love with. We had the reception right next door in a long room with one wall of glass and a wood roof, brick fireplace and green beams. The windows provided a vibrant living artwork of green trees to compliment the wedding. My motto was less is more and its all in the details."

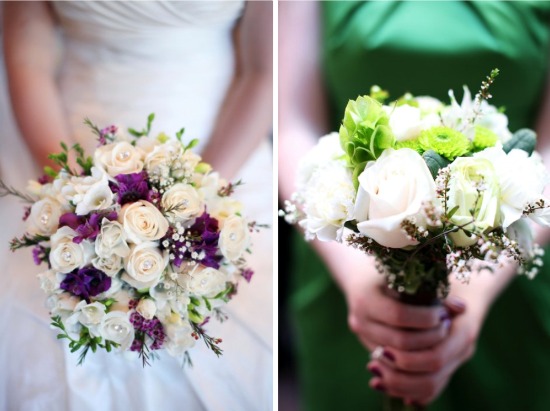
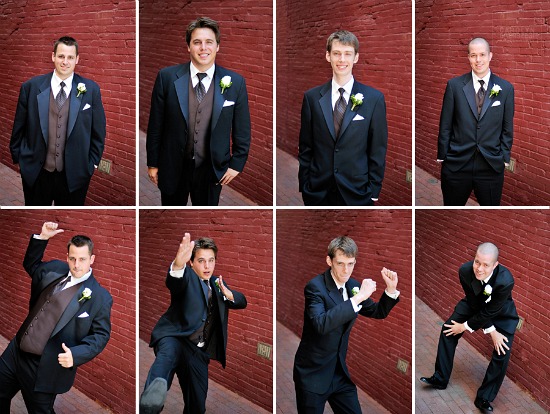
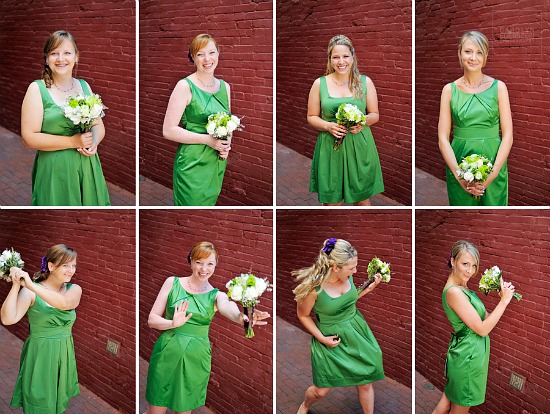
Don't you just love the posed and candid snapshots of the wedding party below?

Bailey says she was a "very laid back bride and only had a few things in mind that I had my little heart set on. One of them was not the bridesmaid dresses. My original plan was to have them in brown, but as summer crept on our heels I felt it would be to dark and wanted to draw more "nature" in. The weekend all the girls came to Vancouver to go shopping we happened to find these AMAZING green dresses, off the rack, at Bryans (and get this...they were only $99.00!!!))."

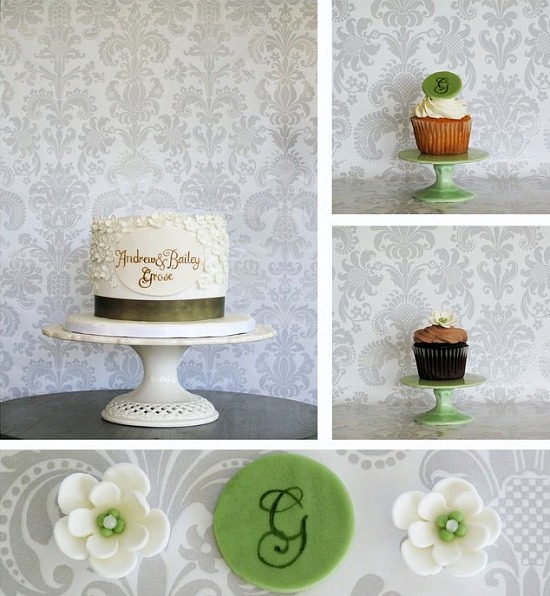
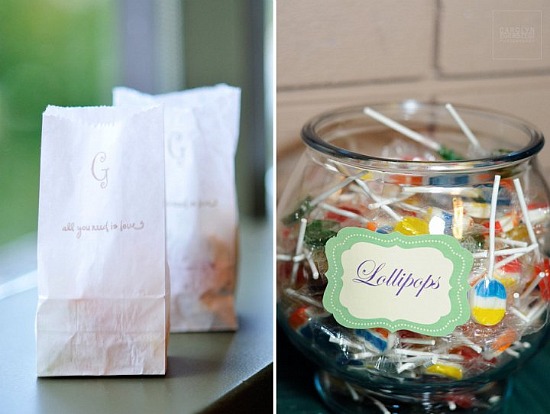
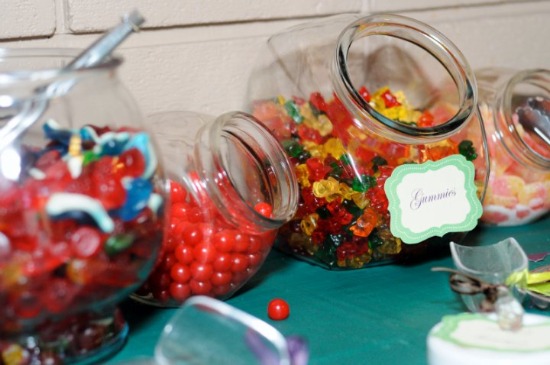
Bailey continues to explain her wedding . . . "To help stop the budget from ballooning to epic proportions I took on a lot of DIY projects to cut down on costs. I found most of my vendors through Craigslist, people who were just starting out and needed some portfolio work done. This benefited me and them so much, those vendors included my florist, my baker and videographer. My DIY projects included all my centerpieces which were made of curly witch hazel, borrowed vases, rocks, ivory silk cherry blossoms and hanging crystals from an old chandelier. I made up the candy buffet as favours for all our amazing guests and hand stamped a "G" on all the bags with the words "All you need is love". This was also our re-occurring theme for the day. We had that stamped on all our hand made invitations, candy bags, menus and the back of the table numbers, we also had the trio play that as we excited the church."


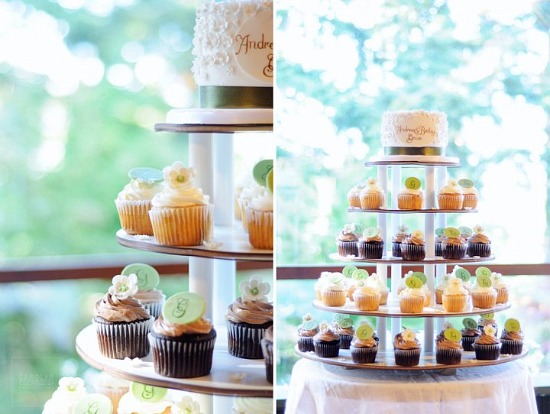
the above cake and cupcake photos are courtesy of Anna Elizabeth Cakes

Congratulations Bailey and Andrew - thank you for sharing your gorgeous special day with my readers.

Wedding Vendors:
Church: The Chapel of the Epiphany on the UBC Campus
Reception Site: Theas Lounge in the Graduate Student Centre on the UBC Campus
Caterer/Food/Drink: Sisters Act Catering (Rachel Goltz)
Bridal Gown: Maggie Sottero (Melissa Brooch) from the Bridal Gallery
Veil and jewelry: Ebay
Shoes: Le Château
Groom’s and Groomsmen Attire: Debonair Formal at the Bridal Gallery
Bridesmaids dresses: Bryans
Stationery: Invitations were purchased from Michaels (they were programs converted into inviations). The programs and menu cards were also invitations from Michaels but purchased from Craigslist and were converted as well.
Photography: Carolyn Egerszegi
Second shooter for the day was Sean Norman
Videography: First Language Films
Ceremony Music: String Trio (Studio G)
Reception Music: John Felice of Complete Music & Video
Flowers:  Sandy's Wedding Services and Rentals
Linen and Dish Rentals: Londsale Rentals
Cake/Cupcakes: Anna Elizabeth Cakes

Wednesday Wedding Accessory : DIY Wedding Programs

Wedding program paper, available from The Wedding Outlet, makes it easy to print your own wedding bulletins. Choose from a variety of styles, colors and themes. The custom wedding programs will work with both laser and ink jet printers. Not sure what to put on your program? Click here for tips on creating your wedding programs.

Shop all wedding programs and bulletins here.

The Wedding Outlet is a sponsor of Brenda's Wedding Blog